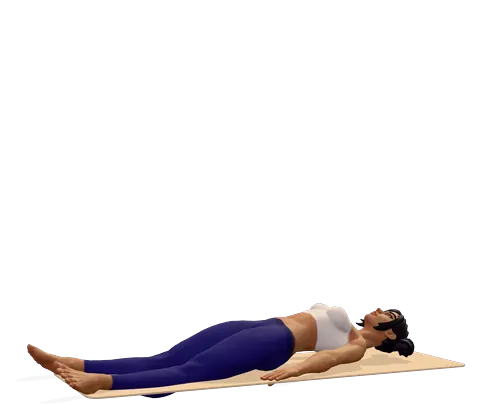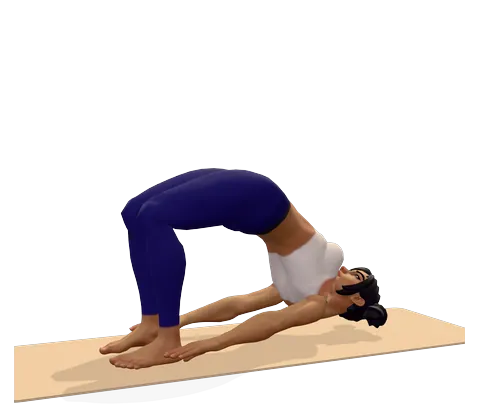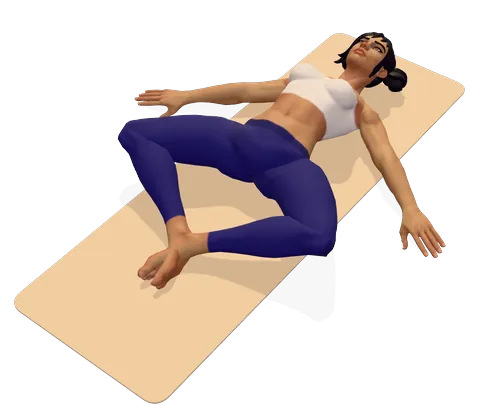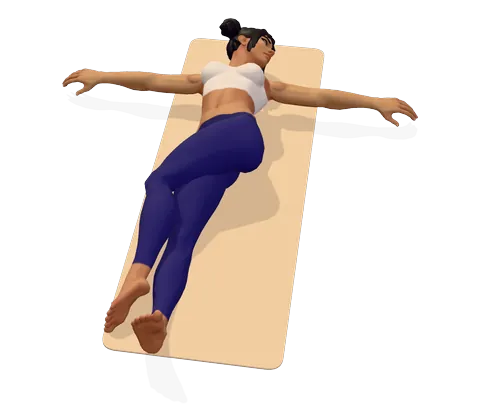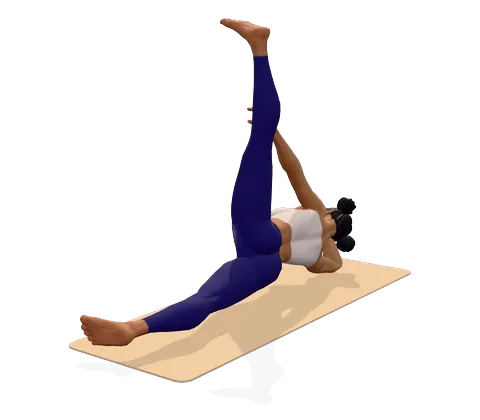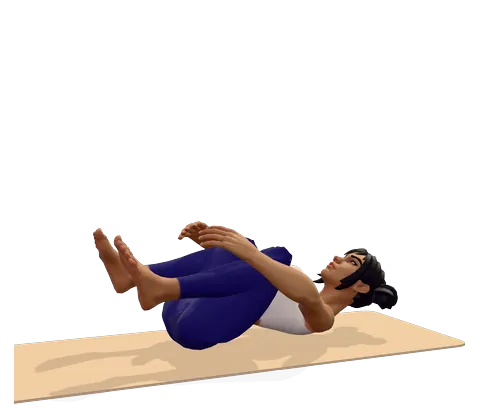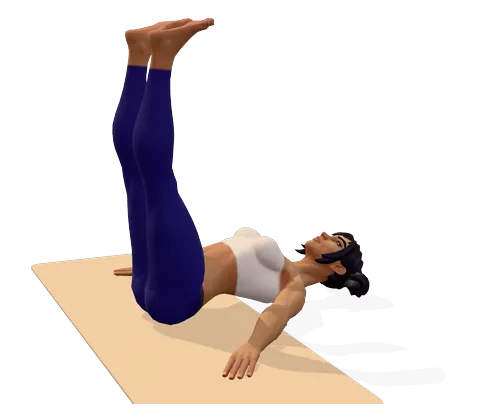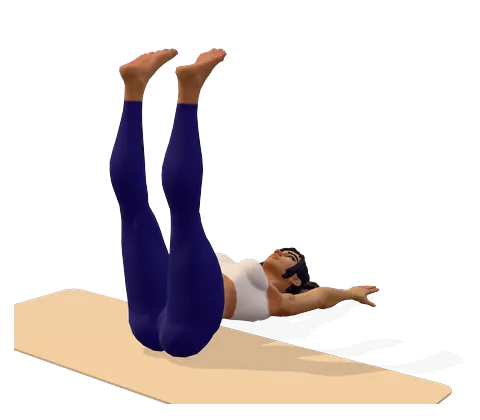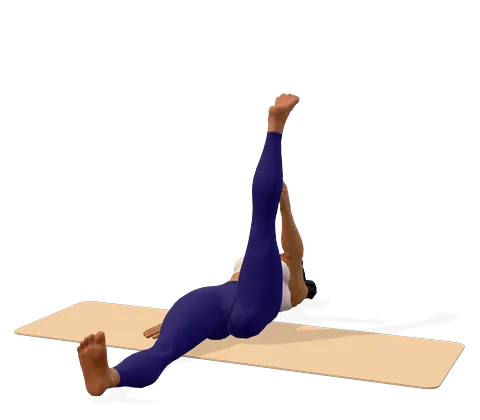
How to do Reclining Hand-to-Big-Toe Pose step by step
- Lie on your back with both legs straight and your feet flexed. If your hamstrings are tight, keep a strap within reach.
- Bend your left knee toward your chest. Hook the first two fingers of your left hand around your left big toe, or loop a strap around the ball of the foot.
- Breathing in, straighten your left leg up toward the ceiling. It is fine if it does not reach vertical.
- Press your right thigh and heel into the floor, toes pointing up. Rest your right arm on the floor beside you.
- Keep both hips level and your shoulders relaxed; if your chin tips up, slide a folded blanket under your head.
- Hold for 5–8 breaths (30–45 seconds), letting the leg come a little closer on each exhale without pulling.
- Breathing out, bend the knee and lower the foot. Repeat on the right side.
Where you feel Reclining Hand-to-Big-Toe Pose: what it stretches and strengthens
Keep the lifted leg straight and the other leg heavy. In the 3D guide, turn on Body guide: areas that stretch glow green and areas that work glow saffron.
Stretches
- Hamstrings
- Calves
Strengthens
- Front thighs
Benefits and precautions
Benefits
- Stretches the hamstrings and calves while the lower back stays supported
- Safer than standing forward bends for many people with stiff backs
- Its variations open the inner thighs and the outer hip
- Works the front of the thigh of the lifted leg
- Used in yoga programmes for knee pain, tight hips and sciatica
- Prepares you for standing big-toe poses and forward bends
Avoid or modify if
- Acute sciatica or a disc problem — keep the stretch mild, bend the knee, and stop if pain or tingling runs down the leg
- Hamstring tear or strain — wait until it heals, then use a strap and a small range
- Hip replacement — ask your surgeon how far you may bend the hip
- Pregnancy after the first trimester — avoid lying flat; raise your back on a bolster or ask your midwife
- Bunion or sore big toe — hold the ankle or use a strap instead of gripping the toe
Reclining hand-to-big-toe pose (Supta Padangusthasana) is a lying yoga hamstring stretch: you rest on your back, raise one leg and hold the big toe or a strap. Because the floor supports your spine, it is gentler on the lower back than standing or seated forward bends, which makes it a favourite with physiotherapists, Iyengar teachers and older beginners alike. This page explains the name, how to do it with or without a strap, the three classic versions, the benefits and who should take care.
What is Supta Padangusthasana?
The Sanskrit name of the reclined hand-to-big-toe pose breaks down simply: supta means "reclining", pada means "foot", angustha means "big toe" and asana means "pose". Some books use the fuller name Supta Hasta Padangusthasana, adding hasta ("hand"); the pose and its benefits are the same. In English yoga classes it is also called reclining big toe pose or reclined hand-to-foot pose.
What is the English name of Padangusthasana without the "supta"? Big toe pose: the standing forward bend in which you hold both big toes. The Sanskrit name of Padangusthasana and this reclining pose share the same root, and both stretch the hamstrings. The steps and benefits of the standing version are on the big toe pose page.
How to do it, with or without a strap
Most people cannot hold the big toe with a straight leg at first, and that is normal. A strap (or a belt, scarf or towel) around the ball of the foot lets you keep the leg straight and the shoulders on the floor. Hold the strap with both hands and walk your hands up it as the stretch eases. Supta Padangusthasana images show only one angle, so rotate the 3D figure to see how the lower leg stays flat. These points matter more than how high the leg goes:
- The bottom leg is half the pose. Press the back of the lower thigh down; if it lifts, the stretch leaks away.
- Hips level. The hip of the raised leg tends to creep up toward the shoulder. Keep both hip bones the same distance from your ribs.
- Straight or slightly bent. A small knee bend is better than a locked knee and a pulling sensation behind it.
- Flex the foot. Pressing up through the heel adds a calf stretch and steadies the leg.
How long to hold it
Hold for 30–45 seconds per side in an active practice, or 1–2 minutes with a strap in a slow class. For flexibility, a few minutes most days works better than one long session a week.
Supta Padangusthasana 1, 2 and 3
In Iyengar and Ashtanga yoga the pose has three classic versions, sometimes labelled A, B and C:
| Version | What you do | Main stretch |
|---|---|---|
| Supta Padangusthasana 1 (A) | Leg straight up, as the 3D figure shows | Hamstrings and calf |
| Supta Padangusthasana 2 (B) | Leg opens out to the side; the opposite hip stays down | Inner thigh (adductors) |
| Supta Padangusthasana 3 (C) | Leg crosses the body, held with the opposite hand | Outer hip and side of the thigh |
In reclined hand-to-big-toe pose 2, rest the outer thigh on a block if the leg drops fast or the lower back twists. Reclined hand-to-big-toe pose 3 is also called the revolved reclining hand-to-big-toe pose; like other revolved hand-to-foot poses, it adds a gentle twist of the spine. In Ashtanga, version A may also include lifting the head toward the shin — a yoga pose in which head and toes come toward each other, which works the belly too. In Iyengar yoga, Supta Padangusthasana is often taught with a strap and the bottom foot pressing into a wall.
Supta Padangusthasana benefits
The main reclined big toe pose benefits come from a hamstring stretch with the spine protected. That matters because tight hamstrings make sitting upright and bending forward harder, and many people feel the pull in the lower back instead of the legs.
Back pain and sciatica
Some workouts and poses for back pain load the spine; this one lets it rest. As a yoga pose for lower back pain, it is one of the yoga poses for back relief that most people tolerate well, and it appears in our yoga for back pain and sciatica routines. With sciatica, a strong hamstring stretch can irritate the nerve: keep the knee bent, stretch gently and stop if symptoms travel down the leg.
Knees and hips
Flexible hamstrings and a strong front thigh help the knee move well, so the pose is part of our yoga for knee pain plan. Versions 2 and 3 open the inner and outer hip, useful for tight hips.
Older adults
Because there is no balance to hold and no weight on the joints, it suits yoga for seniors; it features in our Gentle Yoga for Seniors session.
Muscles stretched and worked
The pose stretches the hamstrings and the calf (gastrocnemius) of the lifted leg, the inner thigh in version 2 and the outer hip and gluteus medius in version 3. The quadriceps of the lifted leg work to keep the knee straight, and the hip flexors of the lower leg lengthen as you press that thigh down.
Modifications for beginners, kids and chair users
Like all good modifications for yoga poses, these keep the stretch while removing the strain.
- Bend the lower knee: with the bottom foot flat on the floor, the lower back relaxes completely.
- Foot on a wall: press the bottom foot into a wall to keep that leg active.
- With a partner: of all yoga poses for 2 people, this is one of the easy ones — a partner can hold the strap or gently press your lower thigh down. Go slowly and talk throughout.
- For kids: one of the easy poses for kids; call it "reach for the sky with your toes".
- On a chair: among chair yoga poses for back pain, the seated version works well. Sit tall, loop a strap around one foot and straighten the leg forward.
Reclining vs standing hand-to-toe poses
The standing hand-to-foot pose, Padahastasana (step by step on our standing forward bend page), stretches the same hamstrings but loads the spine and asks for balance in the legs. Extended hand-to-big-toe pose is the standing version of this exact shape and needs strong balance. The reclining pose lets you learn the stretch first, without either challenge, and is a good warm-up before standing peak poses for beginners.
Precautions
If gripping the toe hurts — for example with a bunion, a stiff big toe joint, or a broken toe while it heals — do this yoga pose with a strap around the arch instead. After a toe injury, follow your big toe physical therapy exercises first. If you are on toe-touch weight-bearing precautions after a leg fracture or surgery, ask your physiotherapist before any stretching, even lying down. Stop if you feel sharp pain behind the knee or in the buttock.
Poses to do before and after
Warm up with knees-to-chest pose. Afterwards, try the reclined spinal twist yoga pose, then rest in Supta Baddha Konasana, whose benefits include a slower, calmer breath. Finish in an easy seated yoga pose with your hands folded in front of your chest. You can practise it with voice guidance in the guided sessions.
Health conditions this pose is used for
Yoga for knee pain and osteoarthritis · Yoga for knee replacement recovery · Yoga for sciatica · Yoga for hip pain and tight hips · Yoga for slip disc (herniated disc) · Yoga for spinal stenosis · Yoga for spondylolisthesis · Yoga for degenerative disc disease · Yoga for plantar fasciitis and heel pain · Yoga for leg cramps · Yoga for lupus · Yoga for jet lag and travel fatigue · Yoga for stroke recovery · Yoga for multiple sclerosis · Yoga for restless legs syndrome · Yoga for hernia (safe movement) · Yoga for varicose veins · Yoga for cancer recovery (supportive care)
Frequently asked questions
What are the benefits of Supta Padangusthasana?
It stretches the hamstrings and calves while the lower back stays supported. Its side and cross-body versions also open the inner thighs and outer hips, and it prepares you for standing big-toe poses.
What if I can't reach my big toe?
Use a strap, belt or towel around the ball of the foot and hold it with both hands. Keeping the leg straight with a strap is better than bending it to grab the toe.
How long should I hold reclining hand-to-big-toe pose?
Hold for 30–45 seconds on each side, or up to 1–2 minutes with a strap in a slow practice. Always do both legs.
Is Supta Padangusthasana good for sciatica?
It can help when done gently, with the knee slightly bent. A strong hamstring stretch can irritate the sciatic nerve, so stop if pain or tingling spreads down the leg.
What are Supta Padangusthasana 1, 2 and 3?
Version 1 lifts the leg straight up, version 2 opens it out to the side, and version 3 crosses it over the body as a twist.
What is the English name of Padangusthasana?
Big toe pose. Supta Padangusthasana is the reclining hand-to-big-toe pose, done lying on your back.
This page is for general education. Check with your doctor before starting yoga if you are pregnant, have a medical condition or an injury. Stop if you feel pain, dizziness or shortness of breath.