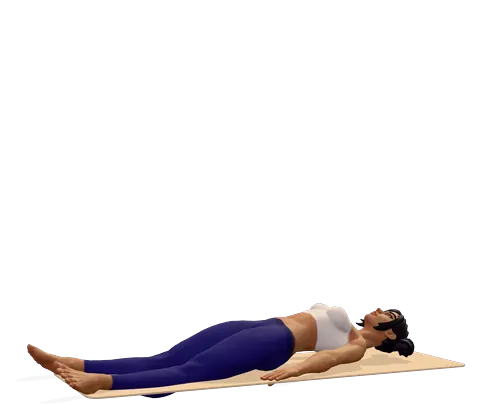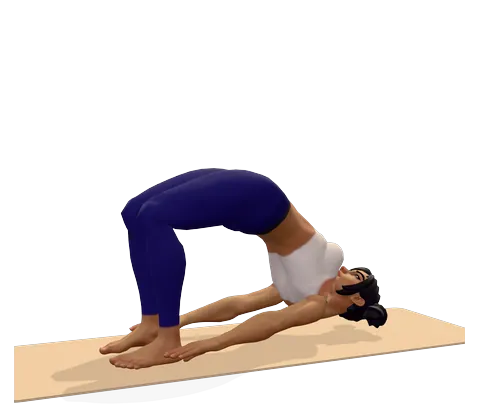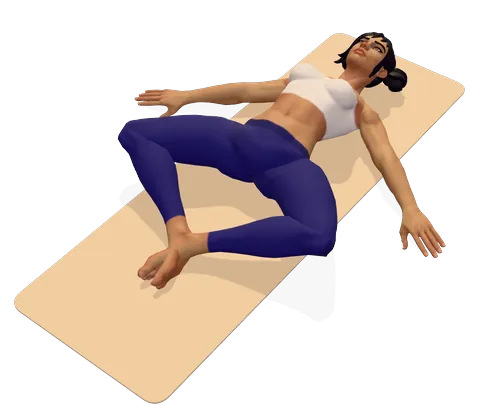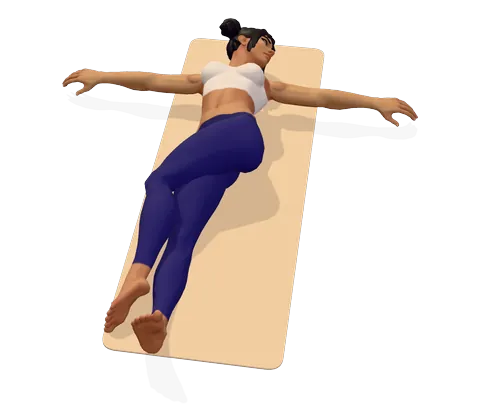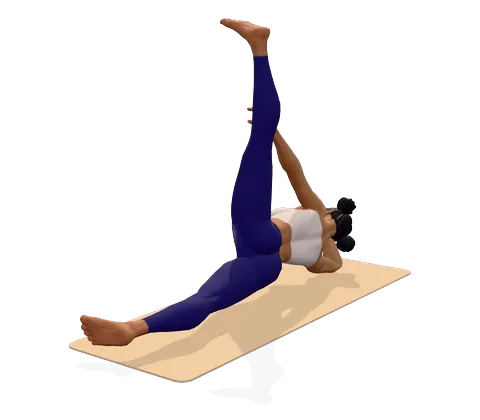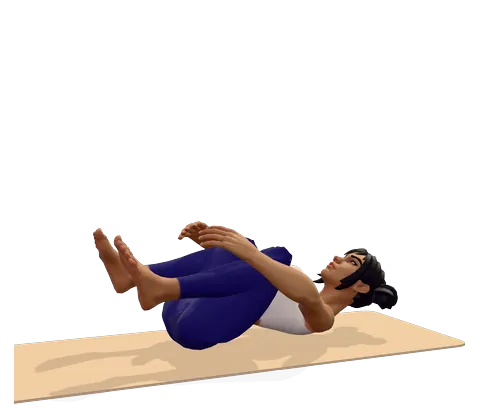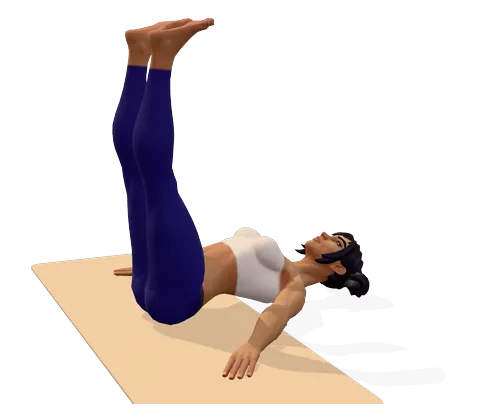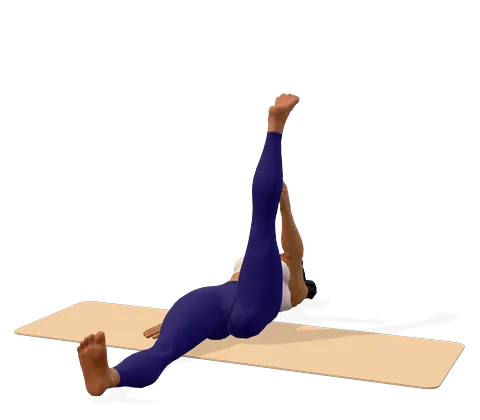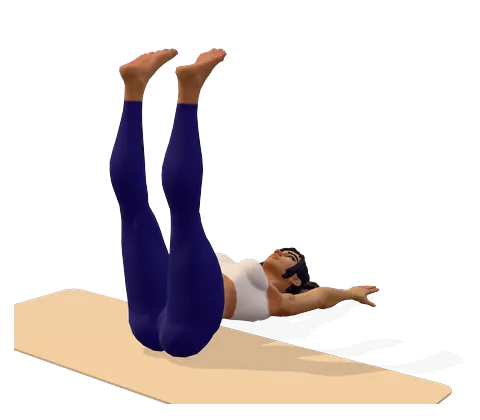
How to do Upward Extended Feet Pose step by step
- Lie on your back with your legs straight and together. Stretch your arms overhead on the floor, shoulder-width apart (or keep them by your sides, palms down, for more support).
- Breathing out, gently draw your belly in so your lower back rests on the mat.
- Breathing in, lift both legs slowly to about 30 degrees and pause for a breath.
- Continue to 60 degrees and pause, then to 90 degrees so your legs point straight up, feet flexed.
- Hold for 3–5 breaths (about 20 seconds). If your lower back arches off the floor, bend your knees.
- Breathing out, lower the legs slowly, pausing at 60 and 30 degrees only if your back stays down.
- Rest with your knees bent and feet on the floor. Repeat 3–5 times.
Where you feel Upward Extended Feet Pose: what it stretches and strengthens
Press your lower back down as you lift your legs. In the 3D guide, turn on Body guide: areas that stretch glow green and areas that work glow saffron.
Stretches
- Hamstrings
Strengthens
- Abs
- Hip flexors
Benefits and precautions
Benefits
- Strengthens the abdominal muscles and the hip flexors
- Teaches you to keep the lower back steady while the legs move — the basis of core control
- Gently stretches the hamstrings when the legs are vertical
- Builds strength for boat pose and, later, for inversions
- Holding the legs at 90 degrees lets tired legs drain
- Needs no equipment, so it suits a short home workout
Avoid or modify if
- Lower back pain or a disc problem — bend your knees, slide your hands under your hips, or skip the lowering phase
- Pregnancy, and after childbirth with abdominal separation (diastasis recti) — avoid; ask your midwife or physiotherapist
- Hernia or recent abdominal surgery — do not practise until you are cleared
- High blood pressure or heart disease — never hold your breath; keep the holds short
- Neck strain — keep your head down and let the arms rest by your sides
Upward extended feet pose (Urdhva Prasarita Padasana) is yoga's version of the leg raise: you lie on your back and lift both straight legs until they point at the ceiling. It looks simple, but lifting and lowering the legs without letting the lower back arch is one of the best lessons in core control. This page explains the name, how to do it safely in stages, the muscles worked, easier and harder versions, and how it compares with other leg raises.
What is Urdhva Prasarita Padasana?
The Sanskrit name describes the shape: urdhva means "upward", prasarita means "stretched out", pada means "foot" or "leg" and asana means "pose". What's a leg raise? An exercise in which you lie on your back and lift straight legs using the belly and hip flexors. Urdhva Prasarita Padasana is simply leg raises done as yoga, with slow breathing and careful alignment.
Two naming traps are worth knowing. Urdhva Prasarita Eka Padasana is a different pose altogether — the standing split, where you fold forward and lift one leg high behind you. And urdhva appears in many other upward poses, such as the upward-facing dog yoga pose (Urdhva Mukha Svanasana) and the upward-facing bow pose, better known as wheel (Urdhva Dhanurasana). Prasarita also appears in the wide-legged standing forward fold, where the legs are spread apart. The upward-facing plank pose (Purvottanasana), on the other hand, is "upward" only in its English name.
How to do leg raises properly
Here is how to perform lying leg raises the yoga way. The classic Iyengar method is to lift in three stages — 30, 60 and 90 degrees — pausing at each so the belly, not momentum, does the work. These points matter most:
- Lower back down. If a hand slides easily under your lower back, the legs are too low for your strength. Bend the knees or lift higher.
- Exhale on the hard part. Most people find lowering harder than lifting; breathe out as you lower.
- Straight but not locked. Keep the knees straight, feet flexed and legs pressing together.
- Quiet upper body. The head, shoulders and arms stay relaxed on the floor.
- Slow is strong. Swinging the legs uses momentum and strains the back.
How long and how many
Hold the top position for 3–5 breaths and repeat 3–5 times. Two or three sessions a week is plenty for most people. Quality beats numbers: five slow leg raises with a steady back do more than twenty fast ones.
Lying leg raises exercise: muscles worked
| Muscles | Role |
|---|---|
| Iliopsoas and rectus femoris (hip flexors) | Lift the legs |
| Rectus abdominis, transverse abdominis, obliques | Hold the pelvis and lower back steady |
| Quadriceps | Keep the knees straight |
| Hamstrings and calves | Stretched when the legs are vertical and the feet flexed |
So what do leg raises work? The hip flexors do the lifting; the abdominal muscles work hardest to stop the lower back from arching, especially as the legs come down.
Upward extended feet pose benefits
Core strength
A strong, well-controlled core helps you sit, lift and move with less strain, and it prepares you for boat pose. Later it helps with advanced yoga poses that take the feet over the head, such as the upside-down shoulder stand. Practise it in our core strength session in guided practice.
Is it good yoga for leg strength?
Partly. It strengthens the hip flexors and the quadriceps, which hold the knees straight. For strong legs overall, standing poses such as chair and warrior do far more; for stiff legs, the vertical hold gives the hamstrings a gentle stretch.
Leg raises and belly fat
Leg raises strengthen the muscles under belly fat but do not burn the fat itself; spot reduction does not work. Combine them with active practice and diet, as explained on our yoga for belly fat page.
Leg raises and back pain
Here you need care. Lowering straight legs puts a strong pull on the lower back, so it is not the yoga pose for lower back pain relief most teachers would pick first. If your back hurts, use the bent-knee or one-leg versions below, or choose gentler yoga poses for low back pain from our yoga for back pain plan.
Putting your feet up
Resting the legs vertically for a minute brings some of the benefits of putting your feet up: tired legs feel lighter. The feet-up-the-wall yoga pose benefits go further because you can relax there for minutes — see legs-up-the-wall pose.
Leg raises for beginners and variations
Like good modifications for yoga poses in general, these make the pose easier without losing its point.
- Hands under the hips: palms flat under the buttocks support the lower back.
- One leg at a time (Eka Pada Urdhva Prasarita Padasana): keep one knee bent with the foot on the floor and lift the other leg. As an exercise, single leg raises are much easier on the back.
- Bent-knee raises: lift with knees bent, straighten the legs up to 90 degrees, then bend them again before lowering.
- Feet up the wall: start with your legs up a wall and practise lowering them a few centimetres and back.
- Advanced: lower both legs until the heels hover just above the floor, keeping the back flat. Only if there is no strain.
Lying leg raises vs other leg raises
- Hanging leg raises are done hanging from a bar, need grip strength and are too hard for most beginners. Leg raises vs hanging leg raises: start lying down.
- Straight leg raises in physiotherapy lift one leg with the other knee bent. This modified straight leg raise is often used after knee injuries to strengthen the thigh. After knee surgery, follow your surgeon's precautions on keeping the leg elevated and on which exercises to start.
- Side-lying leg raises: in this side leg raises exercise, the muscles worked are on the outer hip instead of the belly. The yoga version is side-reclining leg lift (Anantasana).
- Standing leg raises: to do them, hold a chair and lift one straight leg forward or out to the side. They build balance and hip strength, but they are not an ab exercise.
Precautions
Leg raises load the belly and lower back, so skip them in pregnancy and after childbirth until a professional has checked for abdominal separation. With high blood pressure, keep breathing; holding the breath while straining raises blood pressure. Stop if you feel pain in the lower back or groin.
Poses to do before and after
Warm up with bridge and knees-to-chest pose. Afterwards, forward bending yoga poses such as a seated forward fold release the belly and stretch the hamstrings and back.
ऊर्ध्व प्रसारित पादासन — हिंदी में: पीठ के बल लेटें, हाथ सिर के ऊपर ज़मीन पर रखें। साँस लेते हुए दोनों पैर धीरे-धीरे 30, 60 और फिर 90 डिग्री तक ऊपर उठाएँ, कुछ साँस रुकें और साँस छोड़ते हुए धीरे से नीचे लाएँ। इसके फायदे: पेट और कूल्हों की मांसपेशियाँ मज़बूत होती हैं। कमर दर्द, गर्भावस्था या हर्निया में यह आसन न करें; कमर उठे तो घुटने मोड़ लें।
Frequently asked questions
What muscles do leg raises work?
The hip flexors (iliopsoas and rectus femoris) lift the legs, while the abdominal muscles work to keep the pelvis and lower back steady. The quadriceps keep the knees straight.
How many leg raises should a beginner do?
Start with 3–5 slow repetitions, holding the top for a few breaths. Add more only when your lower back stays on the floor throughout.
Are leg raises bad for your lower back?
They can strain it if the back arches as the legs come down. Keep your hands under your hips, bend your knees or lift one leg at a time, and stop if it hurts.
Do leg raises reduce belly fat?
No exercise burns fat from one spot. Leg raises strengthen the abdominal muscles; losing belly fat needs regular activity and a healthy diet.
What is Urdhva Prasarita Padasana in English?
Upward extended feet pose. It is also called yoga leg raises, and the one-leg version is Eka Pada Urdhva Prasarita Padasana.
Can I do leg raises during pregnancy?
No. They put strong pressure on the abdominal wall. Ask your midwife about safe core work, such as gentle pelvic floor exercises.
This page is for general education. Check with your doctor before starting yoga if you are pregnant, have a medical condition or an injury. Stop if you feel pain, dizziness or shortness of breath.