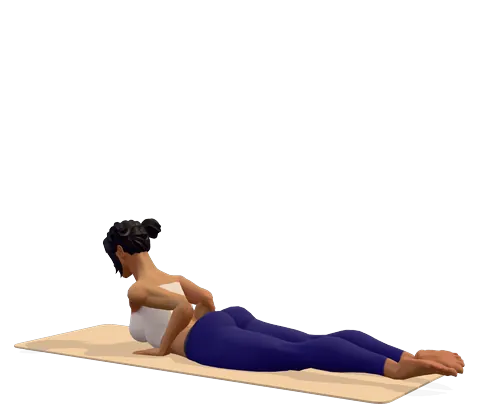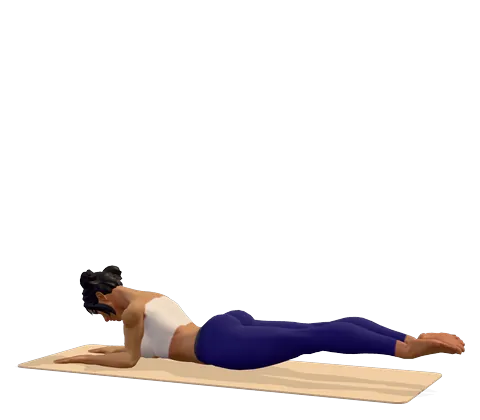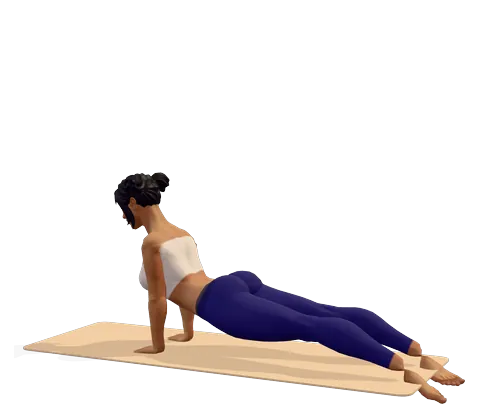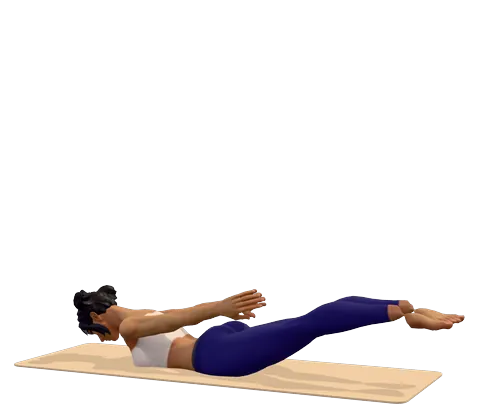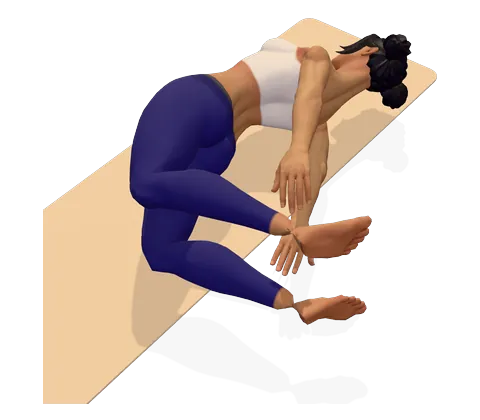
How to do Side Bow Pose step by step
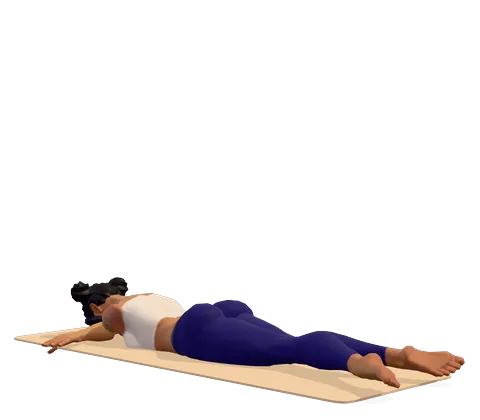
- Lie on your front with your legs hip-width apart and your arms by your sides. Rest your chin or forehead on the mat.
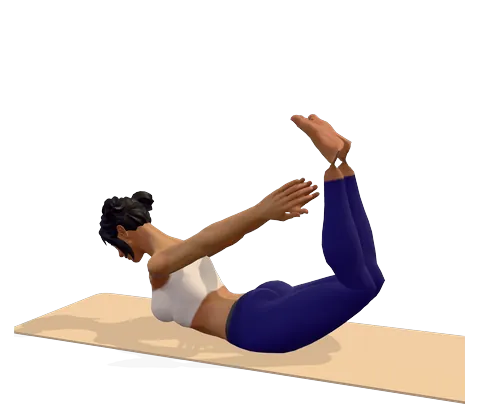
- Bend both knees and reach back to hold the outside of both ankles, thumbs on the inside.
- Breathing in, kick your feet back into your hands so your chest and thighs lift into full bow pose.
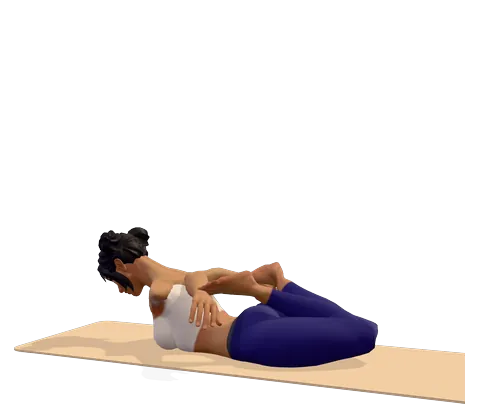
- Breathing out, lean your weight to the right and roll onto your right side. Your right shoulder, hip and thigh now rest on the mat.
- Keep kicking your feet back so the bow stays open. Keep your knees about hip-width apart and your head in line with your spine.
- Hold for 2–3 slow breaths (about 15 seconds). If your breath gets short, come out.
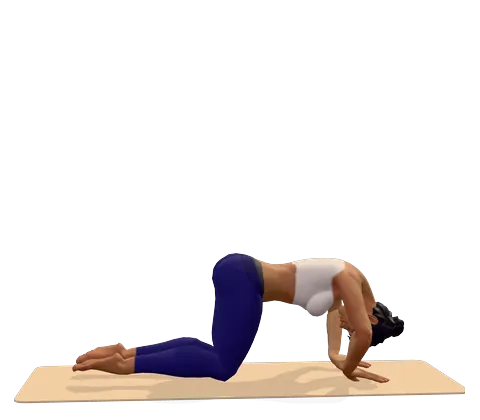
- Breathing in, roll back through the centre into bow pose. Breathing out, roll onto your left side and hold the same time.
- Roll back to the centre, release your ankles, lower your legs and rest with your cheek on your hands.
Where you feel Side Bow Pose: what it stretches and strengthens
Hold your bow shape as you roll onto one side. In the 3D guide, turn on Body guide: areas that stretch glow green and areas that work glow saffron.
Stretches
- Front thighs
- Chest
- Hip flexors
Strengthens
- Lower back
- Glutes
- Side waist
Benefits and precautions
Benefits
- Stretches the front of the thighs, the hip flexors and the chest
- Strengthens the back, buttocks and the side waist (obliques) that control the roll
- Builds body awareness and control in a deep backbend
- Adds a side-to-side element to bow pose for experienced students
- Rolling on the side gently presses the belly and the side of the ribs
Avoid or modify if
- Not for beginners — first hold full bow pose comfortably for 5 breaths
- Pregnancy, recent abdominal surgery, hernia or a peptic ulcer
- High blood pressure, heart disease or glaucoma — deep backbends that press the belly may raise pressure
- Lower back, neck or shoulder injury, disc problems, spondylolisthesis or spinal stenosis
- Knee pain when the knees bend fully
- Avoid on a full stomach — wait 3–4 hours after a meal
Parsva Dhanurasana (side bow pose) is bow pose rolled onto one side. You hold both ankles, lift into the bow and then tip over onto a shoulder and hip, keeping the shape. It looks playful, but it asks for a strong, flexible back and good control, so it belongs with yoga poses for advanced students. This page explains what side bow pose yoga is, who is ready for it, how to do it step by step and who should not try it.
What is side bow pose?
What is side bow? It is a side lying bow pose: the same curve as full bow, seen from above instead of from the side. What does side bow mean in Sanskrit? Parsva means "side" or "flank", dhanu means "bow" and asana means "pose". If you are wondering about the Sanskrit for bow pose, it is Dhanurasana. The 3D figure shows the side bow posture from above, rolled to the right first; drag to rotate it and look at the bow from the side.
Are you ready for side bow pose?
Side bow pose is not a yoga pose for beginners; easy yoga poses for beginners in this family are cobra and half bow. Before you try it, you should be able to:
- Hold full bow pose for about 5 calm breaths with no back or knee pain.
- Do half bow pose on both sides with the thigh lifting easily.
- Hold locust pose and side plank steadily, which shows your back and side waist are strong enough.
If any of these hurt or feel out of reach, stay with half bow and bow pose for a few more weeks. Rolling onto the side with a weak or painful back can strain the lower spine, shoulders or knees.
How to do side bow pose safely
If you already know how to do bow pose yoga, the new skill is the roll. Follow the steps above and keep these points in mind:
- Roll with the breath out. Lean the weight to one side slowly; do not throw yourself over.
- Keep kicking. Holding a bow pose depends on the feet pressing back into the hands. If you stop kicking, the bow collapses and the knees take the strain.
- Knees in line. Keep them about hip-width apart. Knees that splay wide squeeze the lower back.
- Soft neck. Let the head rest in line with the spine. Do not crank it up to look forward.
- Use a soft surface. A folded blanket under the shoulder and hip makes the roll more comfortable.
What you should feel: a deep stretch along the thighs and chest, strong work in the back and buttocks, and the side waist working to keep you balanced.
Side bow pose benefits
What is bow pose good for? The benefits of bow pose include a stronger back, open hip fronts and chest, and better posture awareness. Side bow keeps these benefits of bow pose yoga and adds control: the muscles along the side of the trunk must work to stop you rolling too far. Some teachers also include rolling bows for the gentle pressure on the belly, but there is no good evidence for specific effects on digestion or organs, so treat that as tradition, not fact. Like the benefits of yoga poses in general, these come from steady practice over weeks, not from one deep attempt.
Muscles stretched and worked
| Stretched | Worked (strengthened) |
|---|---|
| Quadriceps (front of the thighs) | Lower back muscles (erector spinae) |
| Hip flexors | Gluteus maximus |
| Chest and front of the shoulders | Obliques (side waist) |
Tap Body guide in the 3D viewer to see these areas glow green (stretch) and saffron (work).
Easier versions and modifications
These modifications for yoga poses in the bow family let you build up safely:
- Half side lying bow pose: lie on your right side, head on your right arm, and hold your top ankle with your top hand. Kick the foot back gently. This is a safe way to feel the side-lying shape and gives half bow pose benefits without any backbend load.
- Side lying bow with a strap: lie on your side, bend both knees back and hold a strap looped around both ankles.
- Side plank bow pose: from side plank, bend the top knee and hold the top foot. It is a balance challenge rather than a rest, so only try it with a solid side plank.
Side bow vs other bow poses
Many poses share the word "bow". Half bow pose yoga (Ardha Dhanurasana) holds one ankle. Upward facing bow pose is wheel pose, a full backbend on hands and feet. A yoga standing bow pose, or standing bow pulling pose, balances on one leg and is close to dancer pose — standing bow pose vs dancer pose differ mainly in how level the torso is. Bowed half moon pose adds the foot hold to half moon. Bow and arrow pose yoga (archer pose) and similar bow and arrow poses are seated, drawing one foot toward the ear.
Is side bow pose good for back pain?
No — side bow is not one of the yoga poses for back pain relief. It is a deep backbend with a roll, which is too much for a sore back. If you are looking for a yoga pose for lower back pain, gentle options such as crocodile pose, sphinx and child's pose are better starting points, and there are chair yoga poses for back pain if getting to the floor is hard. See yoga for back pain for safe poses for yoga for back pain, yoga poses for low back pain and lower back pain relief.
Contraindications: who should not do side bow
The Dhanurasana benefits and contraindications apply here, with extra care because of the roll. Do not practise side bow pose in pregnancy, after abdominal surgery, with a hernia, ulcer, high blood pressure, heart disease or glaucoma, or with any current injury to the back, neck, shoulders or knees. Stop at once if you feel sharp pain, pain spreading into a leg, dizziness or a strained breath. Keep taking any prescribed medicine and ask your doctor or physiotherapist before starting deep backbends if you have a long-term condition.
Poses before and after side bow
Warm up the side body with an extended side angle yoga pose (Utthita Parsvakonasana) and the core with boat pose; the benefits of boat pose include a stronger core that steadies the roll. Then do cobra, locust and a few rounds of full bow. Afterwards, rest in child's pose, then a gentle supine twist; the benefits of yoga twist poses here are simple — they ease the back after deep bending. Finish sitting quietly in easy pose in yoga (Sukhasana). You can put this sequence together in the session builder, which works like yoga poses with instructions read out by the voice guide.
Frequently asked questions
How do you do side bow pose?
Hold both ankles and lift into full bow pose. Breathing out, roll onto one side while you keep kicking your feet into your hands. Hold for 2–3 breaths, roll back through the centre and repeat on the other side.
Is side bow pose for beginners?
No. It is an advanced pose. Beginners should practise half bow, locust and full bow pose first and only try the roll when full bow feels comfortable for about 5 breaths.
What is the difference between bow pose and side bow pose?
The shape is the same, but in side bow you roll onto one shoulder and hip. The roll adds work for the side waist and needs more control.
How long should I hold Parsva Dhanurasana?
About 15 seconds, or 2–3 slow breaths, on each side. Quality matters more than time.
Who should avoid side bow pose?
Anyone who is pregnant, has had recent abdominal surgery, has a hernia, high blood pressure, heart disease, glaucoma, or a back, neck, shoulder or knee injury.
Is there an easier side lying bow pose?
Yes. Lie on your side and hold only your top ankle. This half side lying bow pose gives a thigh stretch with no load on the lower back.
This page is for general education. Check with your doctor before starting yoga if you are pregnant, have a medical condition or an injury. Stop if you feel pain, dizziness or shortness of breath.