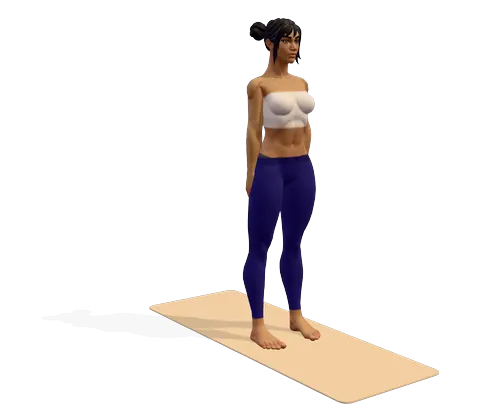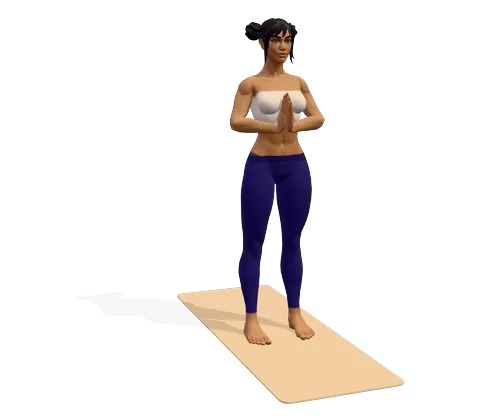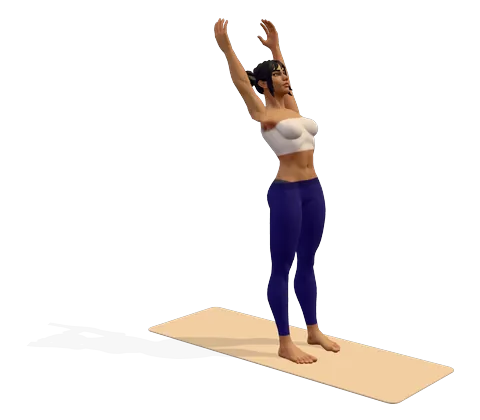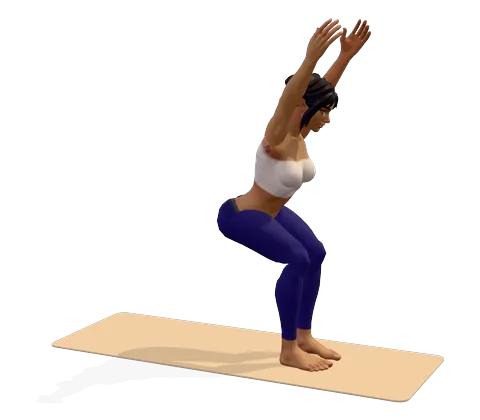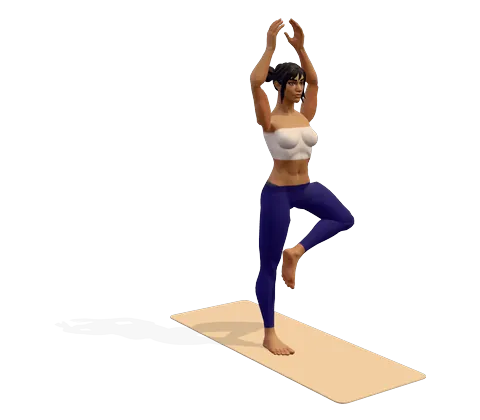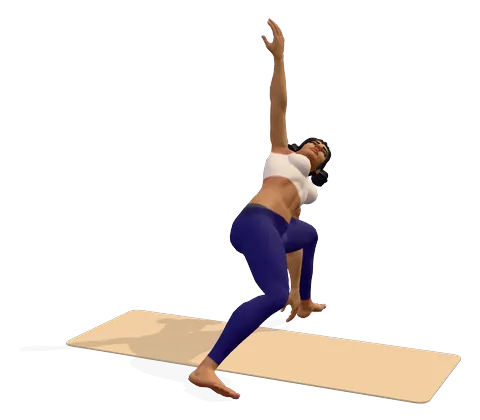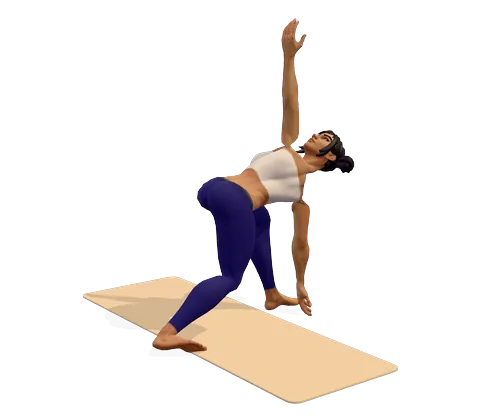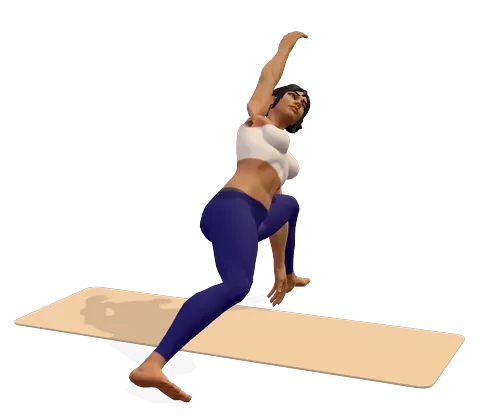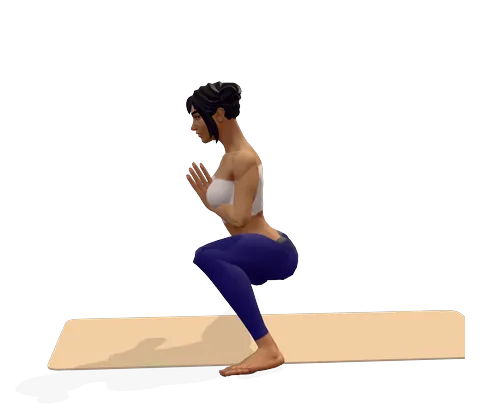
How to do Side Lunge Pose step by step
- Stand with your feet wide apart, about one and a half leg-lengths, toes turned slightly out.
- Bend your left knee and shift your hips toward your left heel. Keep your left knee pointing the same way as your left toes.
- Straighten your right leg to the side. Rest the right heel on the floor and flex the foot so the toes point up to the ceiling.
- Sink your hips as low as feels comfortable. Place your fingertips on the floor or on a block for balance while you find the depth.
- Lift your chest and bring your palms together at the centre of your chest. Keep your left heel down if you can.
- Hold for 20–30 seconds (3–5 breaths), sinking a little lower on each exhale.
- Place your hands down, press into your left foot and shift through the centre to the right side. Or rise up to standing between sides.
Where you feel Side Lunge Pose: what it stretches and strengthens
Sink into the bent knee and flex the toes of the straight leg up. In the 3D guide, turn on Body guide: areas that stretch glow green and areas that work glow saffron.
Stretches
- Inner thighs
- Hamstrings
- Ankles
Strengthens
- Front thighs
- Glutes
Benefits and precautions
Benefits
- Stretches the inner thighs (adductors) and hamstrings of the straight leg
- Improves ankle and hip mobility on the bent-leg side
- Strengthens the thighs (quadriceps) and glutes of the bent leg
- Trains balance and control in a low, wide stance
- Prepares the hips for deep squats, wide-legged poses and splits
Avoid or modify if
- Knee injury or knee pain: do not squat deep; keep the bent knee over the toes and stay higher, hands on blocks
- Groin or hamstring strain: shorten the stance and keep the straight leg foot flat instead of toes up
- Stiff ankles: place a folded blanket under the bent-leg heel
- Hip replacement: deep hip bending and wide stances may be restricted; follow your surgeon or physiotherapist
- Pregnancy: ligaments are looser; keep the lunge shallow, hold a chair and ask your midwife or doctor
Side lunge pose (Skandasana) is a low, wide lunge to one side. One knee bends deeply so the hips sink toward that heel, and the other leg stretches out straight to the side with the toes pointing up. It is a strong stretch for the inner thighs and hamstrings and a real test of ankle and hip mobility. You will meet it in vinyasa, yin-inspired and hip-opening classes, and in gyms as the side lunge exercise.
What is Skandasana? Side lunge pose in Sanskrit
The side lunge yoga pose name in Sanskrit is Skandasana. What is a Skanda? Skanda is the Hindu god of war, also called Kartikeya or Murugan, a son of Shiva and Parvati. Skanda meaning in Sanskrit is often given as "leaping" or "attacker"; in English you can think of it as "the warrior's side lunge". Asana means "pose". Some teachers use lateral lunge pose or low side lunge pose for the same shape.
How to do Skandasana: side lunge proper form
The steps above match the 3D figure, which sinks into the left knee first. These Skandasana cues are also good teaching points for side lunges:
- Knee follows toes. Turn the bent-leg foot slightly out and let the knee point the same way. Knees caving inward is the most common mistake.
- Heel down if you can. If the bent-leg heel lifts, place a folded blanket under it, or stay higher.
- Toes up on the straight leg. Flexing the foot with the heel down deepens the hamstring stretch. With toes forward and the foot flat, the stretch is gentler.
- Chest lifted. Keep the spine long. Collapsing forward puts weight into the knee.
- Go only as low as you can control. Depth comes with time. A shallow side lunge position with good form is better than a deep one that strains the knee.
Side lunge muscles worked and stretched
What muscles does a side lunge work, and what do side lunges stretch? In Skandasana the bent leg does the work and the straight leg gets the stretch.
| Side lunge muscle groups | What they do |
|---|---|
| Quadriceps and glutes of the bent leg | Worked: hold you in the low lunge |
| Inner thighs (adductors) of the straight leg | Stretched strongly |
| Hamstrings and calf of the straight leg | Stretched, more with the toes up |
| Ankle of the bent leg | Mobilised as the knee travels forward |
Turn on the Body guide in the 3D viewer to see the inner thighs and hamstrings glow green and the thigh and glutes glow saffron.
Skandasana benefits
The side lunge benefits come from moving sideways, which most of our daily movement and most exercises skip. The side lunge stretch benefits are mainly for the inner thighs and hamstrings, which tighten with sitting, running and cycling. The bent leg builds strength deep in the range, which helps with squatting down to the floor. Side lunge pose benefits also include better hip and ankle mobility.
The side lunges benefits for females and males are the same: stronger legs and freer hips. Hip-opening work like this appears in our yoga for tight hips plan.
Side lunges for beginners and how to modify a lunge
- Skandasana with blocks: keep your hands on one or two blocks in front of you and stay higher.
- Flat foot: keep the straight leg foot flat with the toes forward instead of up.
- Blanket under the heel of the bent leg if your ankle is stiff.
- Standing side lunge stretch: stay tall with hands on the thighs, just a small bend. This standing side lunge pose is the best substitute for side lunges and a gentle alternative to side lunge depth for sensitive knees.
Are lunges bad for the lower back? Generally no, when your chest stays lifted and you do not round forward under load. If you have knee problems, use our yoga for knee pain plan and skip the deep version.
Skandasana and side lunge yoga pose variations
- Skandasana twist: place one hand down and reach the other arm up, turning the chest toward the bent knee.
- Bind: wrap the arm under the bent thigh and clasp the hands behind the back. Advanced.
- Side to side lunges: move slowly from one side to the other through a low squat, staying low. A Skandasana flow like this warms the hips well.
- Side lunge pulses: small up-and-down movements at the bottom, common in a side lunge workout routine.
Good preparation poses are goddess pose and wide-legged forward bend. A good Skandasana counter pose is garland pose (Malasana), then a gentle forward fold or child's pose. Try hip sequences with voice in our guided sessions.
Side lunge vs Cossack squat, curtsy lunge and lateral lunge
- Side lunge vs Cossack squat: almost the same shape. The Cossack squat is a strength exercise that moves side to side, often with weight; Skandasana is held.
- Side lunge vs curtsy lunge: in a curtsy lunge the back leg crosses behind the front leg. It works the outer glutes more and does not stretch the inner thigh like Skandasana.
- Lateral lunges vs side lunges: the same exercise with two names.
Frequently asked questions
What are side lunges good for?
They strengthen the thighs and glutes, stretch the inner thighs and hamstrings, and improve hip and ankle mobility, including sideways movement that daily life often skips.
What muscles does a side lunge work?
The quadriceps and glutes of the bent leg do the work. The adductors and hamstrings of the straight leg are stretched.
How do I do Skandasana if I cannot go low?
Stay higher with your hands on blocks, keep the straight-leg foot flat and put a blanket under the bent-leg heel.
Why does my heel lift in Skandasana?
Usually stiff ankles or calves. A folded blanket under the heel helps while mobility improves.
Is Skandasana safe for knees?
It can be if the knee follows the toes and you only go as deep as you can control. With knee pain, stay high or skip it.
Is side lunge a good exercise for beginners?
Yes, in a shallow version. Side lunges for beginners should start with a small bend, hands on the thighs, and deepen over weeks.
This page is for general education. Check with your doctor before starting yoga if you are pregnant, have a medical condition or an injury. Stop if you feel pain, dizziness or shortness of breath.