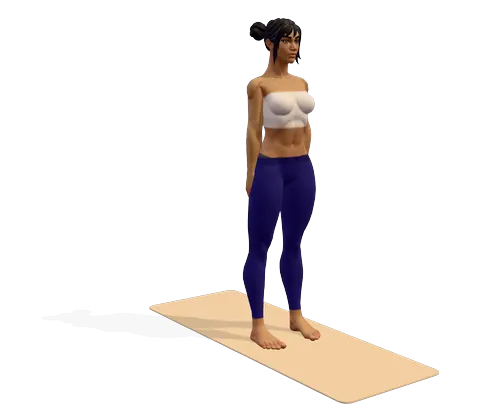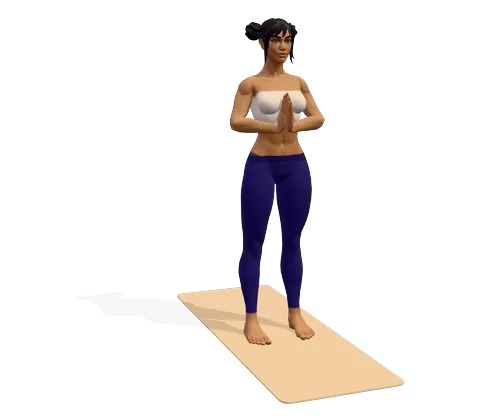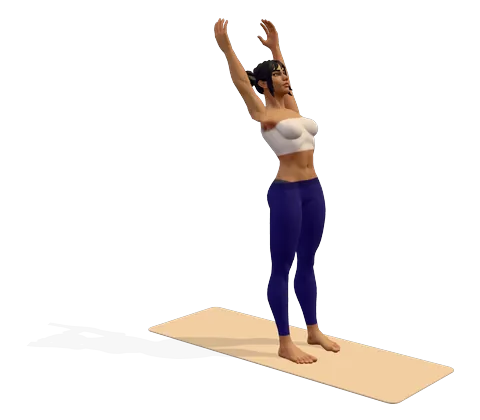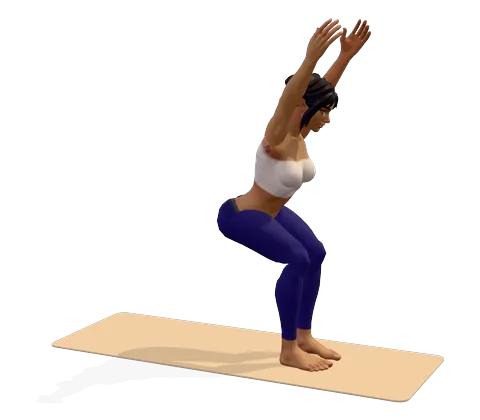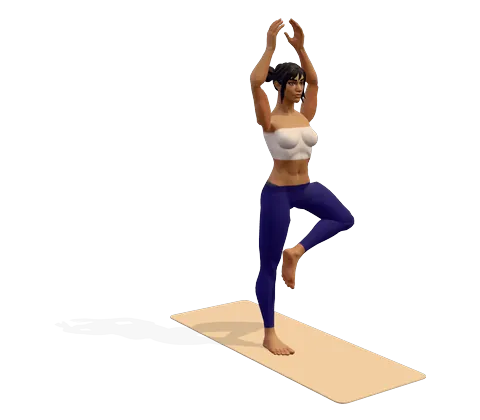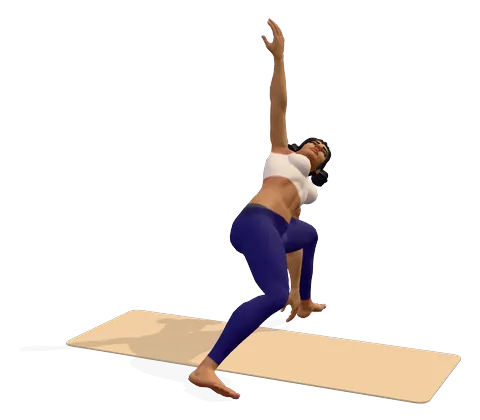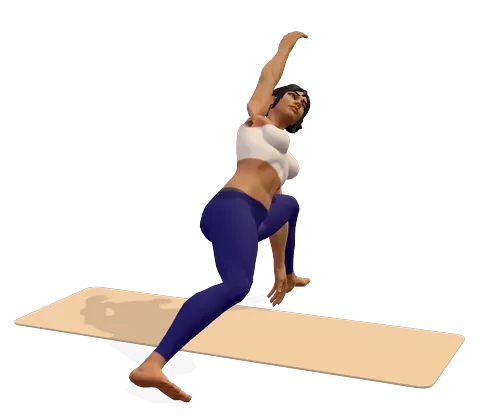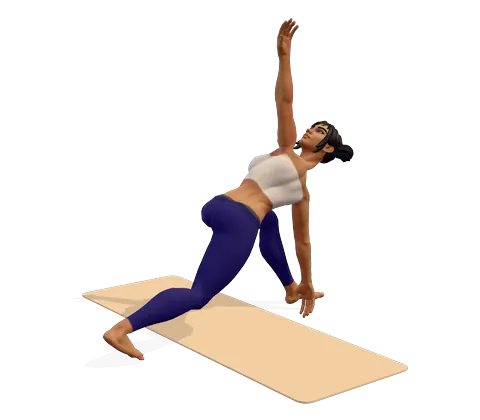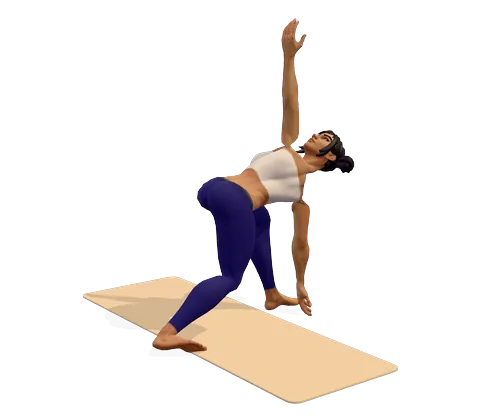
How to do Revolved Triangle Pose step by step
- Stand with your feet about a leg-length apart front to back: left foot forward, toes pointing straight ahead; right foot back, toes turned out about 30–45 degrees. Keep the feet on two separate "tracks", roughly hip-width apart side to side.
- Square your hips to the front of the mat as much as you can. Place your hands on your hips and lengthen your spine.
- Breathe in and raise your right arm. Breathing out, hinge forward from the hips over the front leg with a long, flat back.
- Place your right hand on a block, your shin or the floor, inside or outside your left foot. Keep both legs straight but not locked.
- Breathing in, lengthen from the crown of your head to your tailbone. Breathing out, turn your chest to the left and reach your left arm up toward the ceiling.
- Look at the floor, straight ahead or up at your top hand, whichever keeps your neck comfortable. Hold for 20–30 seconds (3–6 breaths), twisting a little more on each out-breath.
- To come out, lower your left hand, untwist, bring your hands to your hips and rise up with a long back. Repeat on the other side.
Where you feel Revolved Triangle Pose: what it stretches and strengthens
Twist from your ribs while keeping both hips level. In the 3D guide, turn on Body guide: areas that stretch glow green and areas that work glow saffron.
Stretches
- Hamstrings
- Side waist
- Upper back
Strengthens
- Front thighs
- Abs
Benefits and precautions
Benefits
- Stretches the hamstrings, calves and outer hip of the front leg
- Rotates the spine, which can ease stiffness in the upper and middle back
- Strengthens the legs and the deep muscles that hold the pelvis steady
- Challenges balance and coordination more than most standing poses
- Opens the chest and shoulders as the top arm reaches up
- Demands focus, which makes it a good pose for steady attention
Avoid or modify if
- Pregnancy — avoid this closed, deep twist; try an open twist or triangle pose with support instead
- Recent back surgery, an acute disc herniation or sacroiliac joint problems — skip it or ask your physiotherapist first
- Osteoporosis — avoid twisting with a rounded spine; keep the twist small and the back long, or skip it
- Low blood pressure, dizziness or vertigo — look down at the floor and come up slowly
- Neck pain — keep your head in line with the spine and gaze at the floor
- Hamstring injury — bend the front knee slightly and use a tall block or a chair
Revolved triangle pose (Parivrtta Trikonasana) combines three things in one shape: a hamstring stretch over the front leg, a twist through the spine and a balance challenge on a narrow base. That makes it one of the more demanding standing poses, even for people who find the regular triangle easy. This page explains how to do revolved triangle step by step, its benefits, the muscles involved, modifications with props, how it differs from triangle pose, and who should not do it.
What is revolved triangle pose?
The revolved triangle pose Sanskrit name breaks down like this: parivrtta means "revolved" or "turned around", tri means "three", kona means "angle" and asana means "pose". So the Parivrtta Trikonasana meaning in English is "revolved three-angle pose". It is also called twisted triangle pose, reverse triangle or revolved extended triangle pose. Revolved triangle pose in Hindi is परिवृत्त त्रिकोणासन, and the Parivrtta Trikonasana pronunciation is roughly "par-ee-VRIT-tah tree-koh-NAHS-uh-nuh".
Revolved triangle pose vs triangle pose
What is the difference between Trikonasana and Parivrtta Trikonasana (or Parivrtta vs Utthita Trikonasana)? They share a name but work quite differently:
| Triangle (Trikonasana) | Revolved triangle (Parivrtta Trikonasana) | |
|---|---|---|
| Hips | Open to the side | Square to the front |
| Lower hand | Same side as the front leg | Opposite hand to the front leg |
| Spine | Side bend and lengthening | Twist (rotation) |
| Stance | Wide, heels roughly in line | Shorter, feet on separate tracks |
| Difficulty | Beginner | Intermediate; harder to balance |
Learn triangle pose first. Once you can hold it comfortably, the revolved version is the natural next step.
How to do revolved triangle pose
The revolved triangle pose steps above show the left side first, as the 3D guide does. These alignment cues make the biggest difference:
- Widen your tracks. If you wobble, the feet are probably in one line like a tightrope. Move the back foot out to the side a few centimetres.
- Length first, then twist. Every in-breath, grow long; every out-breath, turn a little. Twisting a rounded spine loads the discs and gives a poorer stretch.
- Twist from the ribs, not the neck. Turning your head further does not deepen the twist. Keep the chin in line with the breastbone.
- Keep the hips level. The front hip tends to swing out and lift. Draw it back and down so the pelvis stays even.
- Press through the back heel. A grounded back foot keeps you stable and protects the knee.
Parivrtta Trikonasana for beginners and variations
A block is the easiest way in: put it on its tallest height inside the front foot and rest your hand on it. Keep the top hand on your hip at first and turn only the chest. You can also use a chair, resting the lower hand on the seat, which gives plenty of height and extra stability for seniors or anyone with tight hamstrings. Other revolved triangle pose variations: a soft front knee for tight hamstrings; the back heel against a wall for stability; and, for experienced students, a bind with the top arm wrapped behind the back. If a standing twist is too much, the seated Half Lord of the Fishes pose gives a gentler twist.
Benefits of revolved triangle pose
What is revolved triangle pose good for? Twisted triangle pose benefits go beyond general twist pose benefits. It gives a long stretch to the hamstrings and outer hip of the front leg while the spine rotates, so it combines flexibility work with mobility for the middle and upper back. The legs and hips work hard to stay level on a narrow base, which builds strength and balance. Because you cannot drift off mentally and stay upright, it also trains concentration.
Twisting poses are often said to "massage the organs" or "detox" the body. There is no good evidence for detox claims. What we can say is that many people find gentle twists comfortable for the back and for feeling less bloated, which is why twists appear in routines for digestion. Treat any effect as a bonus, not a treatment.
Revolved triangle pose muscles (Parivrtta Trikonasana muscles)
| Stretched | Working |
|---|---|
| Hamstrings and calf of the front leg | Quadriceps of both legs |
| Outer hip and the IT band area of the front leg | Hip stabilisers (gluteus medius) keeping the pelvis level |
| Back muscles and the muscles between the ribs, through the twist | Obliques, the main twisting muscles of the trunk |
| Chest and front of the top shoulder | Upper back and shoulders holding the top arm up |
What muscles are used when twisting your torso? Mainly the obliques on both sides of the waist, helped by the deep muscles of the back.
Revolved triangle yoga sequence: prep poses and what comes after
Good Parivrtta Trikonasana preparatory poses are ones that stretch the hamstrings and teach a gentle twist: a standing forward bend, triangle pose and pyramid pose. Revolved pyramid pose to revolved triangle is a smooth transition: from pyramid, simply bring one hand down and turn. A harder cousin is revolved side angle pose, where the front knee bends deeply.
What pose to do after revolved triangle? A neutral forward fold such as a wide-legged forward bend, then rest in child’s pose as a counter pose. You can put this sequence together in the sequence builder and follow it with voice guidance.
Parivrtta Trikonasana contraindications and precautions
Revolved triangle pose contraindications matter because this is a deep, closed twist, so the precautions matter more than for most standing poses. Skip it in pregnancy. With a disc problem, recent spinal surgery, SI joint pain or osteoporosis, ask a physiotherapist before trying it, and if you do, keep the spine long and the twist small. If you feel sharp pain in the back or pain travelling down a leg, come out at once. For general back pain, gentler options are in our yoga for back pain plan.
परिवृत्त त्रिकोणासन (Parivrtta Trikonasana) — हिंदी में: बायाँ पैर आगे और दायाँ पैर पीछे रखें, कूल्हे सामने की ओर। कमर सीधी रखते हुए आगे झुकें और दायाँ हाथ बाएँ पैर के पास ब्लॉक या ज़मीन पर रखें। छाती को बाईं ओर घुमाकर बायाँ हाथ ऊपर उठाएँ और 20–30 सेकंड रुकें। फायदे (Parivrtta Trikonasana ke fayde): जाँघों के पीछे खिंचाव, रीढ़ में लचीलापन और संतुलन बेहतर होता है। गर्भावस्था, कमर की चोट या स्लिप डिस्क में यह आसन न करें।
Frequently asked questions
What is Parivrtta Trikonasana?
Parivrtta Trikonasana (revolved triangle pose) is a standing twist: the feet are apart front to back, the hips face forward, the opposite hand goes down by the front foot and the other arm reaches up.
What are the benefits of revolved triangle pose?
It stretches the hamstrings and outer hip, rotates the spine, strengthens the legs and hip stabilisers, and challenges balance and concentration.
Why is revolved triangle so hard to balance?
Usually because the feet are in one line. Step the back foot out to the side so the feet are on two tracks, use a block under the hand and keep the back heel pressing down.
How long should I hold revolved triangle pose?
Hold for 20–30 seconds (3–6 breaths) on each side. Twist a little more with each out-breath rather than forcing it.
Who should not do revolved triangle pose?
Avoid it in pregnancy and with an acute disc injury or recent back surgery. With osteoporosis, SI joint pain, low blood pressure or neck problems, modify it or ask a physiotherapist first.
Where should my bottom hand go in revolved triangle?
Inside the front foot is easiest, outside is deeper. Use a block or a chair so you can keep the spine long.
Is revolved triangle good for beginners?
It is better learned after regular triangle pose. Beginners can start with a block, a shorter stance and the top hand on the hip.
This page is for general education. Check with your doctor before starting yoga if you are pregnant, have a medical condition or an injury. Stop if you feel pain, dizziness or shortness of breath.