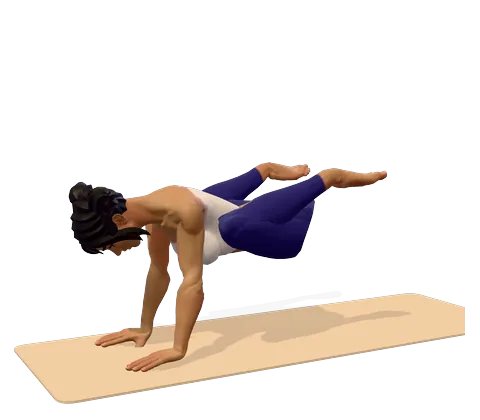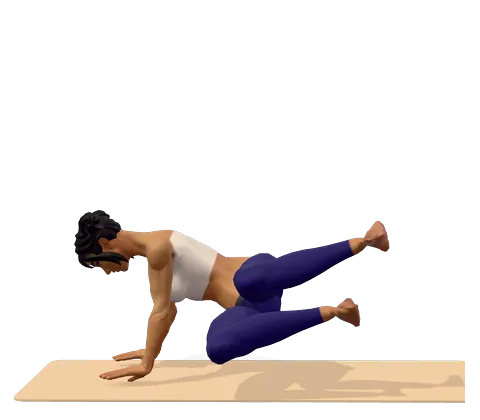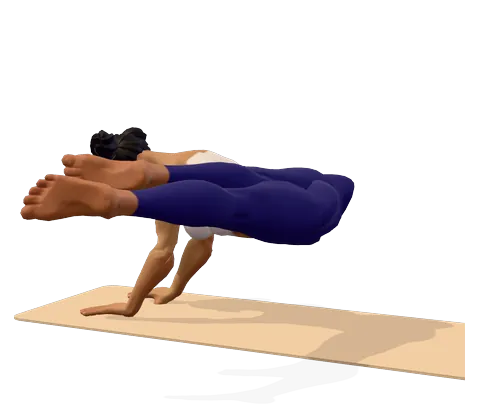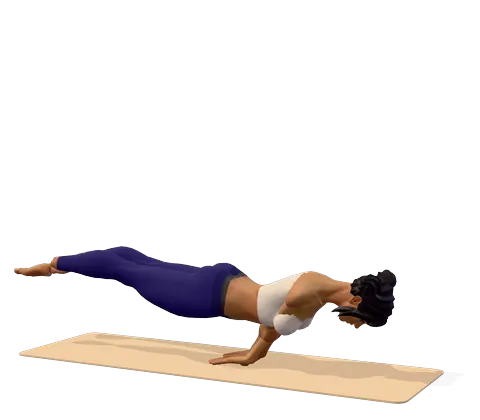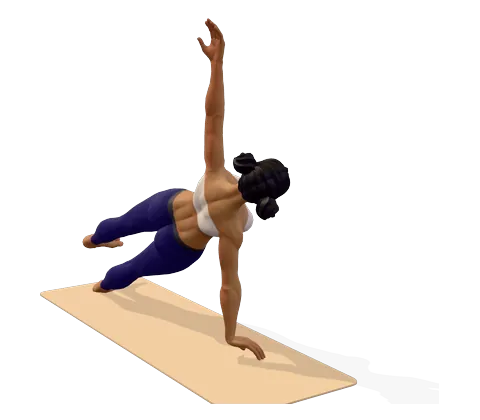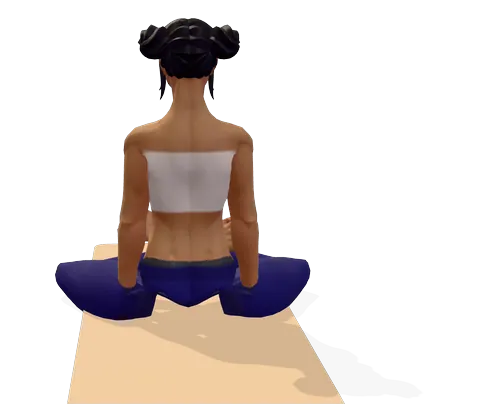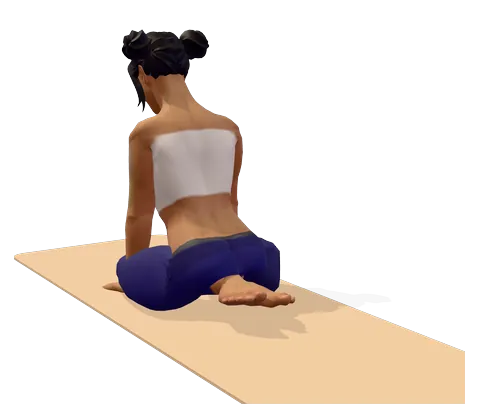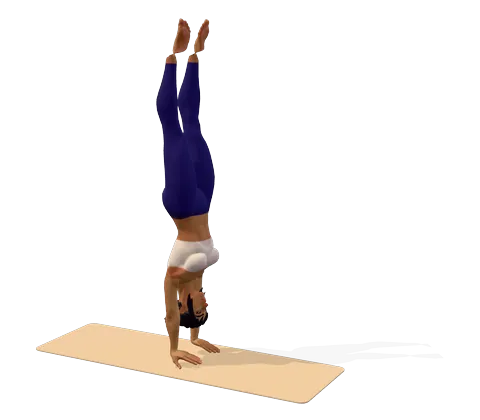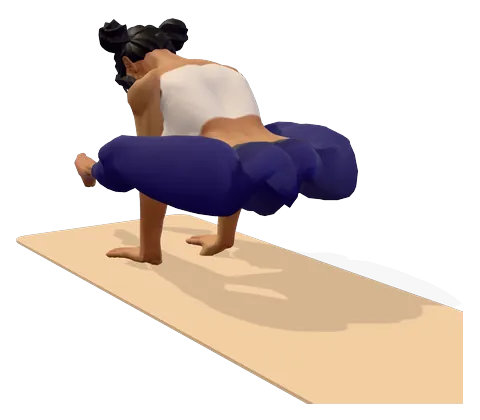
How to do Shoulder-Pressing Pose step by step
- Warm up your hips, hamstrings and wrists. Stand with your feet a little wider than hip-width, fold forward and bend your knees deeply.
- Thread your arms between your legs and work your shoulders as far behind your knees as you can. Place your palms flat on the floor just behind your heels, shoulder-width apart, fingers pointing forward.
- Bend your elbows slightly and lower your hips so the backs of your thighs rest high on your upper arms, as close to your shoulders as possible.
- Squeeze your thighs firmly around your arms, shift your weight back into your hands and lift your feet off the floor.
- Cross one ankle over the other and hug your legs in. Look forward and keep the chest lifted.
- Hold for 3–5 breaths (about 10 seconds), breathing slowly.
- To come out, uncross your ankles, lower your feet to the floor and stand up slowly. Repeat with the other ankle on top.
Where you feel Shoulder-Pressing Pose: what it stretches and strengthens
Squeeze your thighs onto your arms and lift your feet. In the 3D guide, turn on Body guide: areas that stretch glow green and areas that work glow saffron.
Stretches
- Inner thighs
- Upper back
Strengthens
- Arms
- Wrists
- Abs
Benefits and precautions
Benefits
- Strengthens the wrists, forearms, arms and shoulders
- Builds core strength, especially the deep abdominal muscles and hip flexors
- Stretches the hamstrings, inner thighs and lower back
- Improves balance and teaches you to use leverage in arm balances
- Prepares you for tortoise pose, firefly pose and other advanced arm balances
Avoid or modify if
- Wrist, elbow or shoulder injury, including carpal tunnel syndrome and frozen shoulder
- Lower back pain or a disc problem that gets worse in a rounded forward fold
- Hamstring or groin strain
- Pregnancy, recent abdominal surgery or a hernia
- Place a cushion under your seat while learning, in case you sit back onto the floor
Shoulder-pressing pose (Bhujapidasana) is a yoga arm balance in which your thighs rest high on the backs of your upper arms, your feet lift and your ankles cross in front of you. Unlike crow, you sit back rather than lean forward, so the pose is about squeezing and folding more than tipping. This page explains the name, what to practise first, how to get into it step by step, and how to protect your wrists, shoulders and back.
Bhujapidasana meaning: what the name says
The literal meaning of Bhuja Pidasana comes from three Sanskrit words: bhuja ("arm" or "shoulder"), pida ("pressure") and asana ("pose"). So the shoulder pressing pose Sanskrit name, Bhujapidasana, can be translated as "arm-pressure pose" or "shoulder-pressing pose" — both describe the backs of the thighs pressing down on the arms near the shoulders.
The name has nothing to do with the gym shoulder press. There are no weights here; the only load is your own body, balanced on your hands.
Is Bhujapidasana for beginners?
Bhujapidasana is an intermediate yoga pose. It is usually easier to balance than crow, because your weight sits back over your hands, but it needs open hamstrings and hips to get the shoulders far enough behind the knees. You are ready to start when you can:
- Fold forward in standing forward bend with your palms on the floor (knees may bend).
- Squat in garland pose with your heels close to the floor.
- Hold boat pose for five breaths with a steady core.
Bhujapidasana prep poses
- Hips and hamstrings: standing forward bend with bent knees, wide-legged forward bend and garland pose.
- Core: boat pose. The benefits of boat pose — a strong core and active hip flexors — carry straight into the lift.
- Lift: pendant pose (Lolasana), or simply lifting your seat with hands on blocks, trains the "hover" you need.
- Arms: short holds in crow pose build wrist and arm strength.
How to do Bhujapidasana step by step
The steps above use a standing entry; the 3D figure shows the finished shape from a squat. Work through these checkpoints and stay at the one that is right for you today.
Checkpoint 1: Shoulders behind the knees
From a wide forward fold with bent knees, thread one arm at a time behind the leg until the back of the knee sits on the back of the shoulder. This is the key to the pose: the higher the legs sit on the arms, the less you need to lift.
Checkpoint 2: Sit back on the arms
Place the hands just behind the heels and slowly lower your seat until the thighs rest on the upper arms. Keep the feet on the floor and breathe. A cushion under your seat takes away the fear of falling back.
Checkpoint 3: Lift and cross
Squeeze the thighs in and lift one foot, then the other. Cross the ankles and hold. If your feet drag on the floor, place them on a block before you lift so they start higher.
Checkpoint 4: The full Ashtanga version
In the Ashtanga yoga primary series, students bend the elbows further and lower the chin or forehead toward the floor between the hands, then lift back up. Try this only when checkpoint 3 is easy.
Common mistakes and tips
- Legs too low on the arms. Work the shoulders further behind the knees before you sit back.
- Loose legs. Squeeze the thighs into the arms the whole time; this is what holds you up.
- Elbows splaying. Keep the elbows pointing back, not out.
- Collapsed wrists. Spread the fingers wide and press through the knuckles to take pressure off the wrist crease.
Variations and where it fits in a sequence
Straighten the legs forward from shoulder-pressing pose and you are in firefly pose (Tittibhasana), a harder variation. You can also move from Bhujapidasana into crow by bending the knees and tipping forward.
In the Ashtanga primary series, Bhujapidasana comes after boat pose and directly before tortoise pose (Kurmasana). The arm threading you learn here is the same as in tortoise, which is why the order works so well. You can build a similar short flow in the sequence builder.
Shoulder-pressing pose benefits and muscles
The main shoulder pressing pose benefits are strength in the arms and core, open hips and hamstrings, and better balance. Like many yoga poses and their benefits, the gains come with regular, patient practice, not a single attempt.
| Strengthens | Stretches |
|---|---|
| Wrist and forearm muscles, triceps | Hamstrings and calves |
| Deltoids and serratus anterior | Inner thighs and buttocks |
| Abdominals and hip flexors | Lower back muscles |
Is it good for shoulder pain, posture or back pain?
Despite the name, this is not one of the shoulder opening yoga poses. It loads the shoulders, so skip it if they hurt. If you are looking for yoga poses for shoulder pain or shoulder mobility, gentler choices such as cow face pose are better, and our yoga for frozen shoulder page lists yoga poses for shoulders step by step. To improve shoulder posture, chest openers and back-strengthening poses help more than arm balances.
It is also not a yoga pose for back pain: the rounded fold can irritate a sensitive lower back. Beginner yoga poses for back pain are much gentler, and our yoga for back pain plan lists the best asanas for back pain with a guided session.
Frequently asked questions
What does Bhujapidasana mean?
"Bhuja" means arm or shoulder, "pida" means pressure and "asana" means pose, so it is the arm-pressure or shoulder-pressing pose. The backs of your thighs press on your upper arms.
Is Bhujapidasana easier than crow pose?
Many people find the balance easier, because you sit back over your hands instead of leaning forward. But it needs more hamstring and hip flexibility to get the legs high on the arms.
How do I get my feet off the floor in Bhujapidasana?
Get your shoulders further behind your knees, squeeze your thighs into your arms and shift your weight back. Placing your feet on a block to start helps a lot.
What are the benefits of shoulder-pressing pose?
It strengthens the wrists, arms, shoulders and core, stretches the hamstrings and inner thighs, and improves balance. It also prepares you for tortoise and firefly pose.
Where does Bhujapidasana come in the Ashtanga primary series?
It comes after boat pose (Navasana) and before tortoise pose (Kurmasana).
Is shoulder-pressing pose good for shoulder pain?
No. It puts weight on the shoulders and wrists. For shoulder pain or stiffness, try gentle stretches such as cow face pose, and ask a physiotherapist if pain persists.
Who should avoid Bhujapidasana?
Skip it with wrist, elbow or shoulder injuries, lower back or disc problems, hamstring strains, during pregnancy or after abdominal surgery.
This page is for general education. Check with your doctor before starting yoga if you are pregnant, have a medical condition or an injury. Stop if you feel pain, dizziness or shortness of breath.