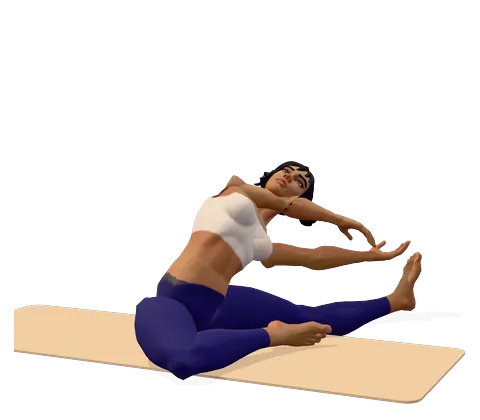
How to do Revolved Head-to-Knee Pose step by step
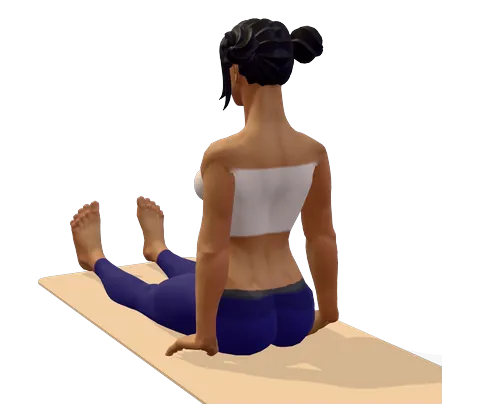
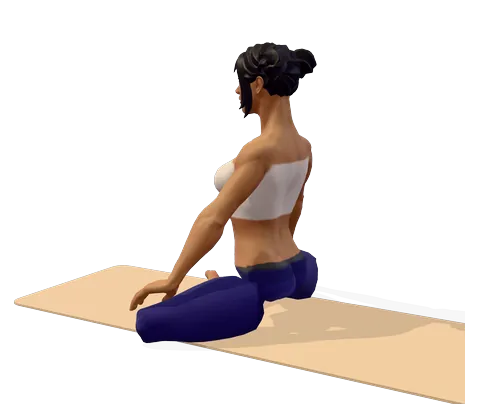
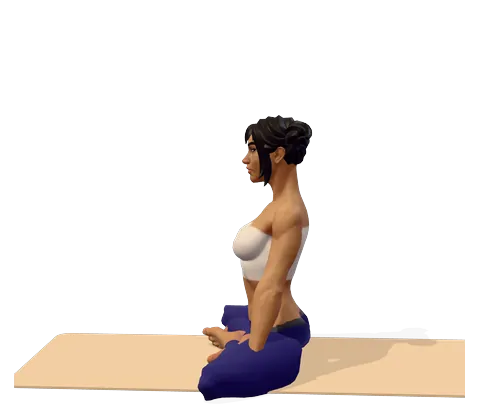
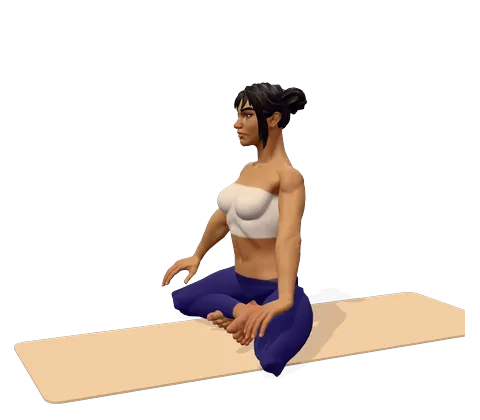
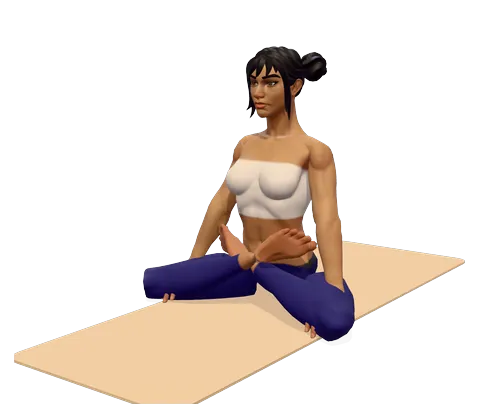
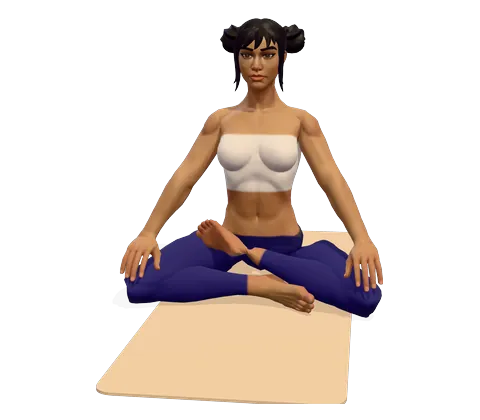
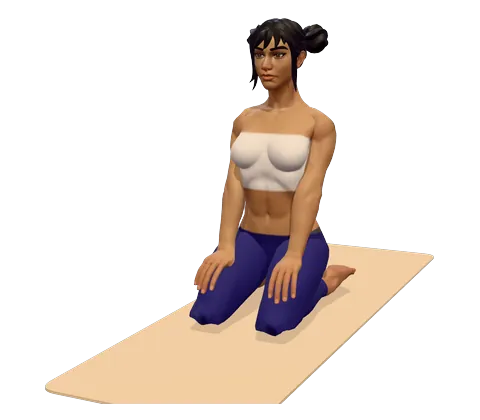
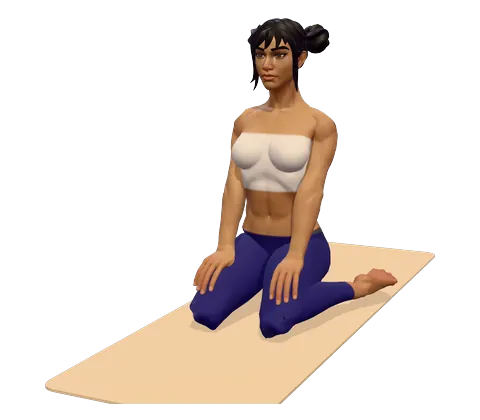
- Sit with your legs wide apart. Bend your right knee and draw the right heel toward your groin, so the sole rests against your inner left thigh. Keep the left leg straight out to the side, toes pointing up.
- Turn your chest slightly to face away from the straight leg, toward the right. Sit up tall.
- Breathing out, bend sideways to the left over your straight leg. Slide your left forearm or hand down the inside of your left leg and hold the inner edge of your left foot, or rest the forearm on the floor.
- Breathing in, sweep your right arm up and over your head toward your left foot. Hold the outer edge of the foot, a strap, or simply reach.
- Turn your chest up toward the ceiling and look up under your top arm, or straight ahead if your neck prefers.
- Hold for 20–30 seconds (4–6 breaths). Keep lengthening the lower side of your waist on each breath.
- Breathing in, release the foot and rise up leading with the top arm. Straighten the right leg and repeat on the other side.
Where you feel Revolved Head-to-Knee Pose: what it stretches and strengthens
Side-bend over the straight leg and turn your chest to the ceiling. In the 3D guide, turn on Body guide: areas that stretch glow green and areas that work glow saffron.
Stretches
- Hamstrings
- Side waist
- Shoulders
Benefits and precautions
Benefits
- Gives a long stretch to the whole side of the body, from hip to fingertips
- Stretches the hamstrings and inner thigh of the straight leg
- Opens the shoulder and the side of the chest on the top-arm side
- Encourages deeper breathing into the side ribs
- Mobilises the spine with a side bend and a gentle turn
- A calming seated pose that prepares for deeper side bends
Avoid or modify if
- Disc problems or sciatica — keep the side bend small, bend the straight knee and do not pull on the foot
- Knee injury or knee replacement — do not fold the bent knee deeply; keep the leg straight or loosely bent and follow your surgeon’s precautions
- Shoulder injury — keep the top hand on your head or hip instead of reaching over
- Neck pain — look forward or down instead of up
- Hamstring or groin strain — bend the straight knee and sit on a folded blanket
- Pregnancy — practise only a gentle version with a small side bend and no pressure on the belly; ask your midwife or doctor
Revolved head-to-knee pose (Parivrtta Janu Sirsasana) is a seated side bend over one straight leg. Unlike the classic head-to-knee pose, where you fold forward and face your leg, here you face away from the straight leg, bend sideways over it and turn your chest up toward the ceiling. The top arm reaches over your head for the foot, so you feel a long stretch from the outer hip all the way to the fingertips.
Revolved head-to-knee pose Sanskrit name
The Sanskrit name has four parts: parivrtta means "revolved" or "turned", janu means "knee", sirsa means "head" and asana means "pose". Some people call it revolved Janu Sirsasana or the rotated head-to-knee pose. The head-to-knee pose Sanskrit name alone, Janu Sirsasana, describes the forward-folding version.
What category of pose is it?
In yoga books, the revolved head to knee pose category is "seated", and the action is mainly a side bend, with some twist and some hamstring stretch. So it sits between the forward bends and the twists. On this site it is a level-2 (intermediate) seated pose.
How to do revolved head-to-knee pose
The steps above follow the 3D figure, bending over the left leg first. These points make the difference between a real side stretch and a collapsed fold:
- Face away from the straight leg. Before you bend, turn your chest a little toward the bent knee. This lets you bend sideways instead of forward.
- Long lower side. Keep lengthening the side of the waist nearest the floor. Collapsing it turns the pose into a crunch.
- Bottom arm inside the leg. The lower forearm rests along the inside of the straight leg or on the floor. That anchors the shoulder and helps the chest turn up.
- Top arm reaches, does not pull. Reach past your ear toward the foot. If you can hold it, do so lightly.
- Straight leg active. Toes point up, and the back of the knee presses gently down. A slight knee bend is fine.
Parivrtta Janu Sirsasana for beginners and modifications
- Sit on a folded blanket so the pelvis tips forward and the side bend starts from the hips.
- Bend the straight knee or place a rolled blanket under it if the hamstring pulls.
- Use a strap around the straight foot and hold it with the top hand.
- Top hand behind the head instead of reaching, with the elbow pointing up, for a gentler shoulder.
- Lower forearm on a block if it does not reach the floor.
These revolved head-to-knee pose modifications keep the side stretch without strain. Revolved head to knee pose variations for experienced students include holding the foot with both hands and resting the lower shoulder on the floor inside the straight knee. People with sore knees can keep the bent leg loose or stretch both legs wide; these are simple yoga modifications for bad knees.
Parivrtta Janu Sirsasana benefits
The main revolved head-to-knee pose benefits come from the side bend. The whole side of the body lengthens: outer hip, side waist, ribs, the side of the chest and the shoulder of the top arm. The straight leg adds a stretch for the hamstrings and inner thigh. Because the upper side of the rib cage opens, many people notice they can breathe more deeply into the side ribs. The gentle turn of the chest adds movement to the upper back.
Like other seated poses, it is calming, and it is a useful counter to long hours of sitting bent forward. It also prepares the body for gate pose and standing side stretches.
Is it a yoga pose for back pain?
For general stiffness in the side and back, a gentle version often feels good, and it can be one of several yoga poses for back relief. It is not the first choice for acute lower back pain, a disc problem or sciatica; there, keep the side bend small or skip it. Our yoga for back pain plan lists safer poses for yoga for back pain in a sensible order, including yoga poses for lower back pain relief that keep the spine neutral. Yoga poses to relieve back pain work best as a regular, gentle routine rather than one deep stretch.
If floor poses are hard, chair yoga poses for back pain include a simple seated side bend: sit tall on a chair, reach one arm overhead and lean away from it for a few breaths.
Muscles stretched
| Stretched | Where you feel it |
|---|---|
| Obliques and the side waist | The lower side of your body, over the straight leg |
| Hamstrings and inner thigh | The back and inside of the straight leg |
| Shoulders and the side of the chest | The armpit and upper side of the top arm |
This is a stretching pose, not a strength pose. The Body guide on the 3D figure shows the hamstrings, obliques and shoulders glowing green.
Revolved head-to-knee pose vs head-to-knee pose
Head-to-knee pose (Janu Sirsasana) is a head to knee forward bend yoga pose: you face the straight leg and fold forward over it; the benefits of Janu Sirsasana are mainly a hamstring and lower-back stretch. How to do Janu Sirsasana is also the best prep: learn the leg position there first. In the revolved version you face away and bend sideways, so the side body stretches far more.
Is it the same as standing head-to-knee pose?
No. Standing head to knee pose (Dandayamana Janushirasana) and standing separate leg head to knee pose are balancing and forward-folding poses from the Bikram / hot yoga sequence. They share the name "head to knee" but are done standing.
Other revolved poses
Other poses with parivrtta in the name, such as the revolved triangle yoga pose, revolved extended side angle pose, revolved hand-to-foot pose and the revolved chair pose yoga classes use, are true standing twists. Revolved head-to-knee is gentler and more of a side bend.
Prep poses and sequence
Warm up with wide-angle seated forward bend, head-to-knee pose and a few seated side bends. Do revolved head-to-knee pose on both sides, then finish with a seated twist and a short rest. Hold each side for 20–30 seconds. You can practise seated stretches with voice guidance in our guided sessions.
Precautions, including after knee replacement
The bent knee in this pose folds deeply. What are total knee precautions? After knee replacement surgery, whether a total knee replacement (total knee arthroplasty, TKA) or a partial one, your surgeon and physical therapy team will give you post-op knee precautions, and these often include avoiding deep knee bending and twisting on the knee for some months. Follow those precautions first: keep the leg straight or only loosely bent and ask your surgeon or physiotherapist. See yoga after knee replacement for gentler options. Also be careful with disc problems, shoulder injuries and neck pain, and use only a gentle version in pregnancy.
Frequently asked questions
What is Parivrtta Janu Sirsasana?
It is revolved head-to-knee pose: a seated side bend over one straight leg, with the chest turning up and the top arm reaching over the head toward the foot.
What are the benefits of revolved head-to-knee pose?
It stretches the whole side of the body, the hamstrings and inner thigh of the straight leg and the shoulder of the top arm. Many people also find it helps them breathe more deeply into the side ribs.
What is the difference between Janu Sirsasana and Parivrtta Janu Sirsasana?
In Janu Sirsasana you face the straight leg and fold forward. In Parivrtta Janu Sirsasana you face away from it and bend sideways, turning your chest up.
What if I cannot reach my foot?
Loop a strap around the foot and hold it with the top hand, or keep the top hand behind your head. Bend the straight knee if needed.
How long should I hold revolved head-to-knee pose?
Hold for 20–30 seconds (4–6 breaths) on each side. Come up slowly, leading with the top arm.
Is revolved head-to-knee pose safe after knee replacement?
The deep knee bend may not be allowed for some time. Follow your surgeon’s precautions, keep the leg straight or loosely bent, and ask your physiotherapist before trying it.
Is it a twist or a side bend?
Mainly a side bend with a small turn of the chest. That is why it feels different from true twists such as revolved triangle.
This page is for general education. Check with your doctor before starting yoga if you are pregnant, have a medical condition or an injury. Stop if you feel pain, dizziness or shortness of breath.