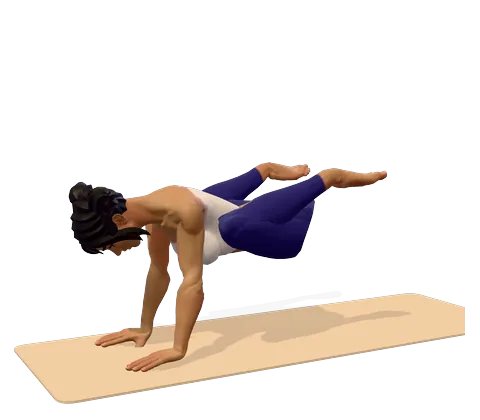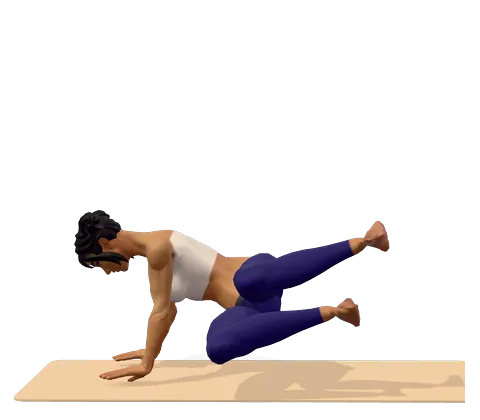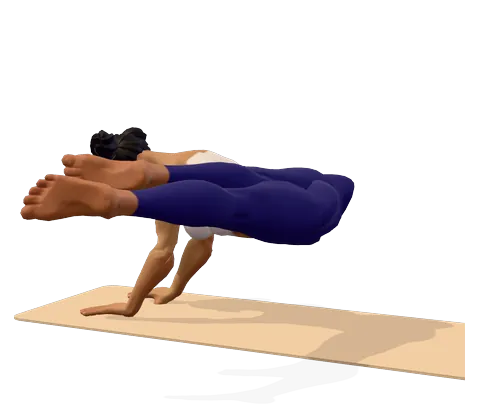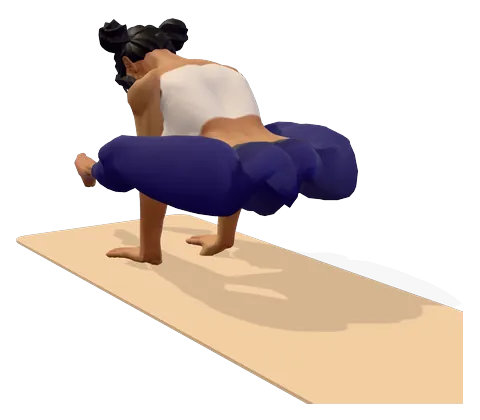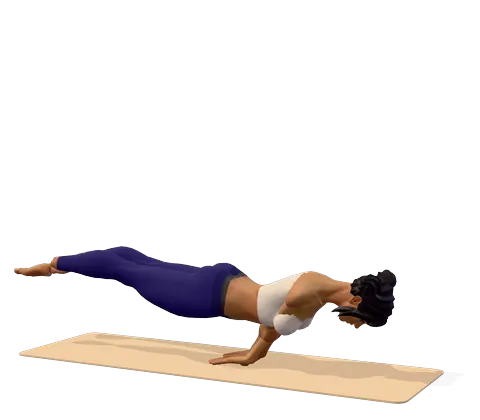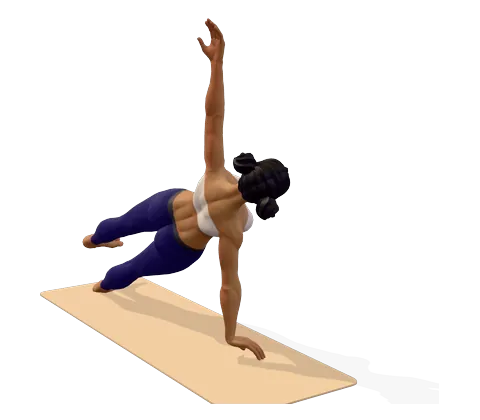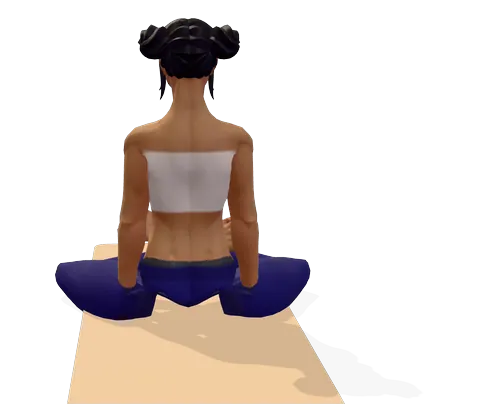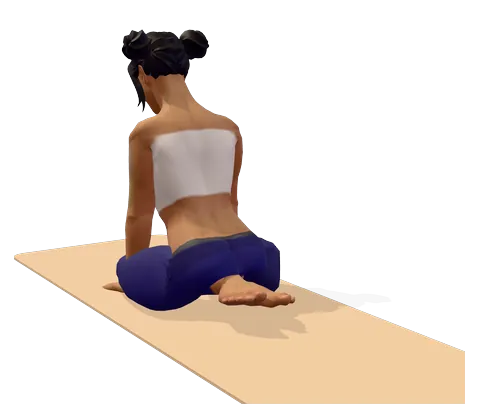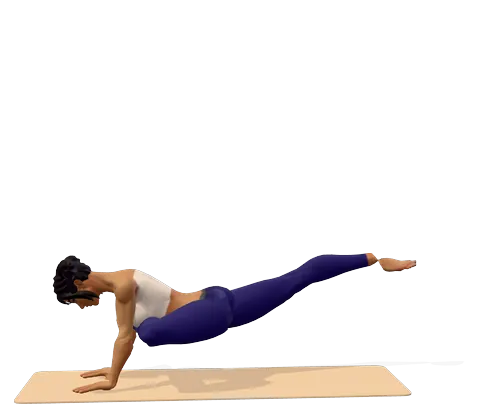
How to do Flying Pigeon Pose step by step
- Stand in chair pose. Cross your left ankle over your right thigh, just above the knee, and flex your left foot.
- Sink your hips, fold forward and place your hands on the floor, shoulder-width apart. Use blocks under your hands if the floor feels far away.
- Bend your elbows backward, as in chaturanga. Hook the toes of your left foot around your right upper arm and rest your left shin across the backs of both upper arms, left knee near your left armpit.
- Lean forward, press into your hands and lift your right foot. Draw your right knee toward your chest first.
- When you feel steady, straighten your right leg behind you, toes pointing, into the full flying pigeon position. Look forward, not down.
- Hold for 3–5 breaths (about 10 seconds).
- Bend your right knee, lower the foot, stand up in chair pose and repeat on the other side.
Where you feel Flying Pigeon Pose: what it stretches and strengthens
Hook your foot on your arm and lean forward. In the 3D guide, turn on Body guide: areas that stretch glow green and areas that work glow saffron.
Stretches
- Glutes
- Hip flexors
Strengthens
- Arms
- Wrists
- Abs
Benefits and precautions
Benefits
- Strengthens the arms, wrists, shoulders and core
- Opens the outer hip of the bent leg, like pigeon pose
- Improves balance, coordination and body awareness
- Builds on crow pose and prepares you for harder arm balances
- Trains focus and steady breathing under effort
Avoid or modify if
- Wrist, elbow or shoulder injury
- Knee pain or knee injury — the bent knee twists under load; keep the foot flexed or skip the pose
- Hip injury or hip replacement
- Pregnancy
- High blood pressure — breathe steadily and keep holds short
Flying pigeon pose (Eka Pada Galavasana) is an arm balance in yoga that combines a hip opener with a lever. One shin rests across your upper arms like the front leg of pigeon pose, the foot hooks around one arm, and the other leg flies straight back. It looks dramatic, but it is very learnable once crow pose feels steady and your hips are open. This guide explains the name, the prep poses, a beginner progression and the difference from ordinary pigeon pose.
What is flying pigeon pose in yoga? The Sanskrit name
The flying pigeon pose in Sanskrit is Eka Pada Galavasana: eka means "one", pada means "foot" or "leg", and Galava is a sage from the Mahabharata, a disciple of Vishvamitra. Asana means "pose". So the name means "one-legged pose of the sage Galava", which English speakers call the one-legged flying pigeon pose. The shorter name Galavasana is also used.
Why is it called flying pigeon? The bent front leg makes the same shape as the front leg of pigeon pose, and the extended back leg and forward lean look like a bird taking off.
Prep: what you need before flying pigeon
Flying pigeon needs three things — steady arms, open hips and trust in leaning forward. Work toward these first:
- Crow pose for 20–30 seconds. Crow pose teaches the forward lean with bent arms.
- Chaturanga strength. The arms stay bent at about the Chaturanga Dandasana angle, so you need to hold that shape for a few breaths.
- Open outer hips. You should sit comfortably in pigeon pose or a figure-four stretch without knee pain.
- Standing figure four. Balance in chair pose with one ankle crossed over the other thigh for 30 seconds — this is the entry to the pose.
How to do flying pigeon pose in yoga: tips that help you lift
The steps above show the full pose. These Eka Pada Galavasana tips fix the usual problems:
- Hook the foot, do not just rest it. Wrap the toes of the flexed foot firmly around the opposite upper arm. That hook is what keeps the leg from sliding off.
- Shin high on the arms. The knee should sit near the armpit, not at the elbow. Higher is steadier.
- Bend the elbows toward chaturanga. Straight arms give the shin nowhere to rest.
- Look forward. Looking at your hands pulls the head down and tips you forward.
- Lift the back leg in two stages. First the knee toward the chest, then straighten the leg.
Place a folded blanket or cushion in front of your face. If you tip forward, your face lands on something soft.
Flying pigeon pose for beginners: a step-by-step yoga progression
- Standing pigeon: figure four in chair pose — this standing flying pigeon prep builds hip opening and balance.
- Folded figure four: hands to the floor or blocks, shin on the arms, both feet still on the floor.
- With a block: put your back foot on a block so it is easier to lift, or rest your forehead lightly on a block as a third point of contact while you find the lean.
- Knee to chest: lift the back foot and hug the knee in, like a one-legged crow.
- Full pose: extend the back leg straight.
Practise a few short tries on each side, two or three times a week. Experienced students later enter from downward dog or float back into chaturanga as part of a flying pigeon pose sequence in yoga.
Flying pigeon pose benefits and muscles worked
Flying pigeon builds strength in the triceps, chest, shoulders and wrists, and the core works hard to keep the body long. The bent leg stretches the outer hip and glutes, while the back leg's glutes and hamstrings hold it lifted. The pose also sharpens balance and focus: you cannot hold it while thinking about something else.
| Strengthens | Stretches |
|---|---|
| Triceps, chest, shoulders, wrists | Outer hip and glutes of the bent leg (piriformis, hip rotators) |
| Abdominals and obliques | Upper back, gently |
| Glutes and hamstrings of the back leg | — |
Flying pigeon vs pigeon pose
What is pigeon pose in yoga? It is a floor hip opener: one shin lies forward on the mat, the other leg extends back, and you rest your weight on the hips. Flying pigeon uses the same front-leg shape but puts your weight on your hands. Why is it called pigeon pose? In the full version the chest lifts and puffs forward like a pigeon's breast. If you came here looking for how to do pigeon pose correctly, or yoga pigeon pose for beginners, see our pigeon pose page. Proper pigeon pose form keeps the hips level and the front foot flexed, and modifications for pigeon pose include a folded blanket under the hip of the front leg.
What muscles does the pigeon pose stretch, and what is it good for? Mainly the outer hip and glutes of the front leg and the hip flexors of the back leg, which is why it appears in yoga for tight hips. The main pigeon pose yoga benefits are looser hips and, for some people, less lower back pain when tight hips are part of the cause. Is pigeon pose bad for you? Not usually, but forcing it can strain the knee. Pigeon pose vs figure 4: the figure 4 is the same stretch done lying on your back (reclining pigeon pose), and physical therapy programmes often prefer it because it spares the knee. The seated pigeon pose stretch on a chair in chair yoga is gentler still. Sitting pigeon pose is also used in yoga for sciatica, where piriformis tightness plays a part.
Flying pigeon pose variations in yoga
- Standing flying pigeon: the figure four in chair pose, a pose in its own right.
- From headstand or downward dog: advanced entries for students with a steady headstand and crow.
- Aerial flying pigeon: in aerial yoga the hammock supports the hips in this pose, which takes weight off the wrists.
Who should avoid Eka Pada Galavasana
Skip it with a wrist, elbow or shoulder injury, a knee or hip injury (including a hip replacement), or during pregnancy. The bent knee is loaded while it rotates, so keep that foot flexed and stop at any pain inside the knee. With high blood pressure, breathe steadily and keep holds short.
Flying pigeon pose in Hindi — एक पाद गालवासन: उत्कटासन (कुर्सी मुद्रा) में खड़े होकर बायाँ टखना दाईं जाँघ पर रखें। आगे झुककर हथेलियाँ ज़मीन पर रखें और बाएँ पैर की उँगलियाँ दाईं बाँह के ऊपरी हिस्से पर फँसाएँ। कोहनियाँ मोड़ें, आगे झुकें और दायाँ पैर पीछे की ओर सीधा उठाएँ। 3–5 साँस रुकें और फिर दूसरी ओर करें। इससे बाजू, कलाइयाँ और पेट मज़बूत होते हैं और कूल्हे खुलते हैं; घुटने या कलाई में दर्द हो तो यह आसन न करें।
Frequently asked questions
Is flying pigeon harder than crow pose?
Yes, for most people. It needs the same forward lean as crow, plus open hips and the strength to hold one leg straight behind you.
Why does my leg slide off my arms?
The foot is probably resting rather than hooked. Flex the foot, wrap the toes around your upper arm, bend your elbows more and place the shin higher, near the armpits.
How long should I hold Eka Pada Galavasana?
Start with 2–3 breaths on each side and build to about 5 breaths. Always practise both sides.
Can beginners do flying pigeon?
Beginners can start with standing figure four in chair pose and the folded version with both feet down. The full lift usually comes after crow pose is steady.
What is the difference between pigeon and flying pigeon?
Pigeon is a floor hip stretch with your weight on your hips. Flying pigeon is an arm balance that uses the same front-leg shape with your weight on your hands.
Why is it called Galavasana?
It is named after Galava, a sage from the Mahabharata. "Eka pada" means one leg.
Who should not do flying pigeon?
People with wrist, elbow, shoulder, knee or hip injuries, and pregnant women. Keep holds short if you have high blood pressure.
This page is for general education. Check with your doctor before starting yoga if you are pregnant, have a medical condition or an injury. Stop if you feel pain, dizziness or shortness of breath.