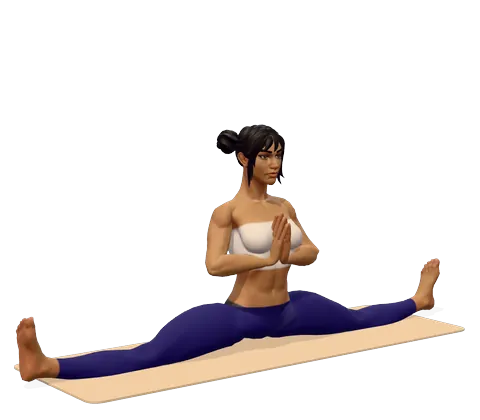
How to do Straight Angle Pose step by step
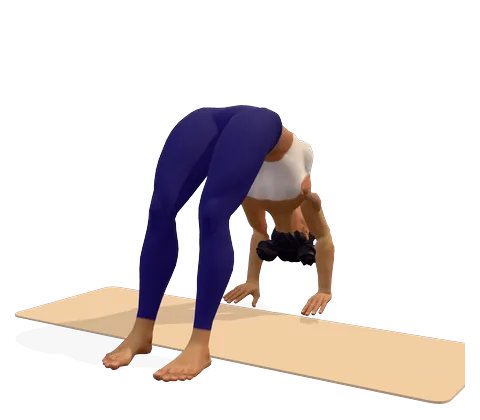
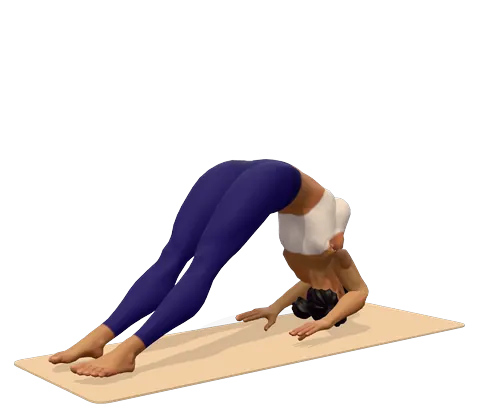
- Warm up for 10 minutes with squats, goddess pose and wide-legged forward bends. The inner thighs must be warm before you open them this far.
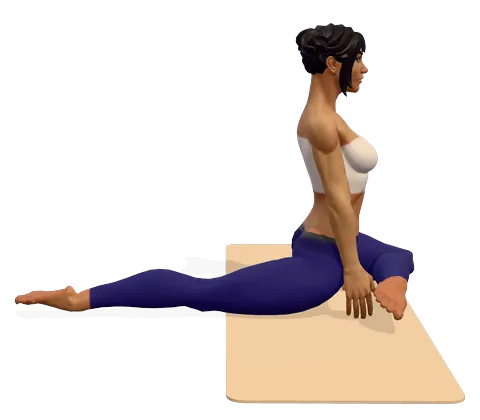
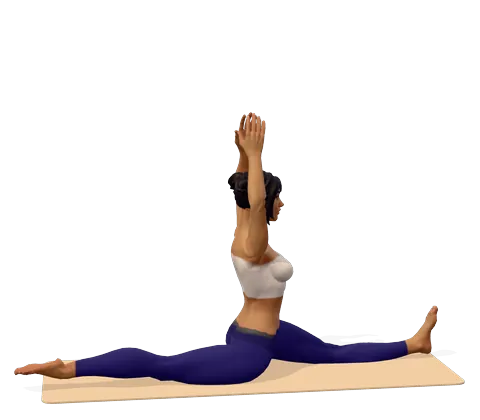
- Sit on your mat with a block or two in front of you. Open your legs wide to the sides with your knees and toes pointing up to the ceiling.
- Place your hands on the floor or blocks in front of your hips. Tilt your pelvis forward so you sit on the front of your sitting bones, not on your tailbone.
- Slowly slide your heels further apart, a little on each out-breath. Keep your knees straight but not locked and your kneecaps facing up.
- Stop at the first strong stretch in the inner thighs. If you are close to the floor and steady, lift your chest and bring your palms together in front of your chest.
- Hold for 5–8 slow breaths (about 30 seconds), breathing into the inner thighs rather than forcing lower.
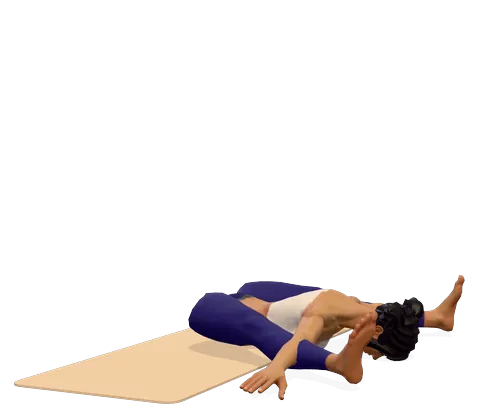
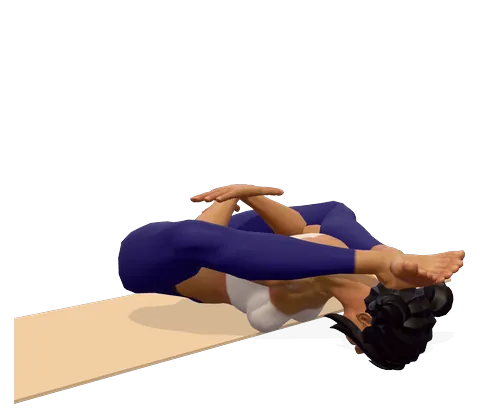
- To come out, put your hands down, bend your knees and draw your legs back together with your hands helping. Sit with the soles of the feet together for a few breaths.
Where you feel Straight Angle Pose: what it stretches and strengthens
Widen your legs slowly and keep your spine straight. In the 3D guide, turn on Body guide: areas that stretch glow green and areas that work glow saffron.
Stretches
- Inner thighs
- Hamstrings
Strengthens
- Spine
Benefits and precautions
Benefits
- Stretches the inner thighs (adductors) and the inner hamstrings
- Improves hip range for dance, martial arts, gymnastics and wide-legged yoga poses
- Teaches you to sit tall with the pelvis upright, which also helps seated forward bends
- Builds patience and body awareness at the end of your range
- A good long-term goal that needs no equipment beyond a mat and blocks
Avoid or modify if
- Groin strain, adductor tendon pain or pain at the front of the pelvis (pubic bone) — skip it until healed
- Hip replacement, hip labral tear or hip dysplasia — do not attempt without your surgeon or physiotherapist agreeing
- Knee ligament injury on the inner knee (MCL) — keep the stretch mild and the knees facing up
- Pregnancy: relaxin loosens the pelvis, so avoid deep inner-thigh stretches and stay in a small, supported range
- Never bounce, sit on a partner's push or slide on a slippery floor without control
Straight angle pose (Samakonasana) is the side splits: you sit upright with both legs stretched out to the sides in one straight line. It is one of the hardest flexibility poses in yoga, because the inner thighs and the shape of the hip joint both limit how far the legs can open. This page explains the name, how to do side splits safely stage by stage, which preparatory poses help, and when to leave this pose alone.
What is Samakonasana?
The name joins three Sanskrit words: sama ("same", "even" or "level"), kona ("angle") and asana ("pose"). The idea is an even, straight angle between the legs. That is why the straight angle yoga pose name in English is simply "straight angle pose", and why many people just call it the side split yoga stretch.
A naming note: in modern Hindi, samakon means a right angle. Some Indian school yoga books therefore use the name Samakonasana for a standing "right angle pose" — you stand, raise the arms and bend forward until the upper body makes a 90° angle with the legs. It is a good beginner pose, but it is different from the seated side splits shown in the 3D guide on this page.
What is a straight angle, and why it matters here
What angle is a straight angle? In geometry it is exactly 180 degrees — a straight line. The definition for straight angle fits the pose: in the straight angle position the two legs form one line through the hips. Thinking about angles in yoga poses is also a helpful way to track progress, because very few people start anywhere near 180°. The 3D figure is a living picture of a straight angle.
| Angle between the legs | What it looks like | Pose or stage |
|---|---|---|
| About 90° (right angle) | Legs open in an L | Starting point; a comfortable right angle pose for most beginners |
| About 120–150° (obtuse angle) | Legs wide, hands on the floor | Seated wide angle pose, the obtuse angle yoga pose most teachers use |
| 180° (straight angle) | Legs in one line, hips low | Samakonasana, the full side splits |
Take a photo from the front every few weeks and estimate the angle. It is a calmer way to measure progress than "how far from the floor am I".
What is a side split? Side split vs front and back split
A side split, also called a middle or straddle split, opens both legs sideways and mostly stretches the inner thighs. A front split, Hanumanasana (monkey pose), has one leg forward and one back and mostly stretches the hamstrings and hip flexors. If you are wondering how to do left sided splits, that is a front split with the left leg forward — see the monkey pose page, which starts from the half split pose in yoga. A "back split" is a contortion move that combines a split with a deep backbend; it is not part of classical yoga and needs specialist coaching.
How to do side splits: a stage-by-stage plan
These split exercises for beginners work best two to four times a week, holding each stretch for 30–60 seconds after a warm-up. Samakonasana preparatory poses build the range gradually from different angles. The same plan works whether you want splits for yoga and dance or for martial arts.
Stage 1: Open the hips
Bound angle pose — what is bound angle pose? Sitting with the soles of the feet together and knees falling open — gently stretches the groin. Add a deep squat in garland pose, pressing the knees wide with the elbows.
Stage 2: Load the inner thighs standing
Goddess pose strengthens the legs in a wide stance, and wide-legged forward bend lets gravity lengthen the inner thighs while your hands take weight.
Stage 3: Seated straddle
Sit in seated wide angle pose on a folded blanket so the pelvis can tilt forward. Keep the knees pointing up and walk the hands forward only as far as the back stays long.
Stage 4: Supported side splits
Now practise the full shape from the steps above, with blocks under your hands. Doing the splits with a yoga mat under your legs gives you grip, so you slide only as far as you choose. Some people also practise against a wall, lying on the back with the legs sliding apart — a gentle, well-supported version.
What muscles do splits stretch?
In the side splits the main stretch is in the adductors (inner thigh muscles such as adductor longus, adductor magnus and gracilis) and the inner hamstrings. The hip abductors and deep core work to keep you upright and in control. Knowing the muscles used in yoga poses like this helps you target the right stretches instead of pushing harder.
Safety, mistakes and modifications
- Your bones set a limit. The shape of the hip socket differs from person to person. Some people will never reach a flat side split, however long they train. That is normal.
- Knees rolling forward. Keep kneecaps and toes pointing up. Rolling forward twists the inner knee.
- Sitting on the tailbone. Sit on a blanket and tilt the pelvis forward, or you will feel it in the lower back instead of the thighs.
- Forcing. Doing the splits properly means going to a strong stretch, never sharp pain. Modifications for yoga poses — blocks, blankets, a wall — are part of good practice, not cheating.
How do you do the splits well over the long run? Warm up, go slowly, stay consistent and rest when your groin feels tender.
Doing the splits with back pain
Samakonasana is not a yoga pose for lower back pain, and sitting in a wide straddle with a rounded back can make lower back pain worse. If your back hurts, practise side splits only with the pelvis upright on a raised seat, or skip them. If you are asking which yoga asana helps relieve back pain, the gentler yoga poses for back pain relief in our yoga for back pain plan are a better choice.
Other angle poses in yoga
Many pose names include kona (angle), so names are easy to mix up. Even Trikonasana, triangle pose, literally means "three-angle pose". In yoga, extended side angle pose is a standing lunge with one arm reaching over the head; its Sanskrit name is Utthita Parsvakonasana. Its twisting partner in yoga is revolved side angle pose, also called twisted side angle pose. Bound angle pose is seated with soles together, and eight angle pose in yoga is an arm balance. Straight angle pose is the only one of them that is a side split.
Samakonasana yoga karne ke fayde in Hindi (समकोणासन): ज़मीन पर सीधे बैठें और दोनों पैरों को धीरे-धीरे दाएँ-बाएँ फैलाएँ, घुटने और पंजे ऊपर की ओर रहें। हाथ सामने ब्लॉक पर रखें और जितना आराम से हो सके उतना ही नीचे जाएँ। यह आसन करने के फायदे: जांघ के अंदर की मांसपेशियाँ लचीली होती हैं और कूल्हे खुलते हैं। कमर दर्द, कमर या जांघ की चोट और गर्भावस्था में इसे न करें।
Frequently asked questions
What is Samakonasana?
Samakonasana, or straight angle pose, is the seated side splits: both legs open to the sides in one straight line, with the chest upright. "Sama" means even, "kona" means angle.
How do you do the side splits safely?
Warm up first, then practise bound angle, garland, goddess, wide-legged forward bend and seated wide angle pose two to four times a week. Try the full pose with blocks under your hands and stop at a strong stretch, never pain.
What angle is a straight angle?
A straight angle is 180 degrees. In the pose the legs form a straight line, which is where the name comes from.
Why can't I do the side splits?
Tight inner thighs are one reason, but the shape of your hip joint also sets a limit. Some people cannot reach a flat side split however long they train, and that is normal.
What muscles do the side splits stretch?
Mainly the adductors (inner thigh muscles) and the inner hamstrings. The core and hip muscles work to keep you upright.
Is Samakonasana good for beginners?
Not the full pose. Beginners should start with seated wide angle pose and bound angle pose and treat the side splits as a long-term goal.
What is the right angle pose in yoga?
Some Indian school books use Samakonasana for a standing pose in which you bend forward until your body forms a 90° angle with your legs. It is different from the seated side splits on this page.
This page is for general education. Check with your doctor before starting yoga if you are pregnant, have a medical condition or an injury. Stop if you feel pain, dizziness or shortness of breath.